So, the RC2014 is a great little computer. We all know that. However, to communicate with it, it is easiest to use the serial port and hook it up to a laptop or desktop PC. This makes detracts from the fact that it is small, portable and cheap as well as missing the point of running code on such a basic computer. So I’ve been looking for a solution to this.
Back when this was still running on a breadboard, I hooked up an Atmel ‘328 that was connected to a keyboard and 4 x 20 LCD display. It communicated with the RC2014 over the serial port and kind of worked ok, although 4 lines was very restrictive and the Atmel couldn’t really keep the screen running and listening at the same time. I have thought about using a ‘328 to drive a composite output, or maybe some kind of bigger LCD panel, but nothing really struck me as just right.
That is, until the kind people at Raspberry Pi released a cheap multifunction interface device a couple of weeks ago!
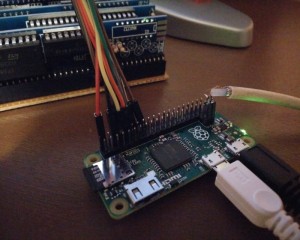
Ok, sure, this little £4 pcb is actually a fully fledged Linux computer running at 1Ghz with 512MB or RAM, but we can gloss over that. The important thing is that it has built in serial port, USB keyboard support and both HDMI and composite TV output. And at just 30mm x 65mm, it isn’t going to dominate the RC2014 layout. All I needed to do was get my hands on one – which eventually I did last week. So, time to hook it up and test…
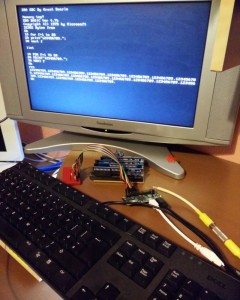
The first problem I came up against is that the mini-HDMI to regular HDMI adapter plugged in to my HDMI to VGA adapter doesn’t work, and I wasn’t getting anything on the composite output either. After wasting time there, I read the instructions and discovered you need to push 3 when booting it up first of all to get the composite to work. After that, I was off!
One slight drawback is that the default Raspbian image doesn’t include any terminal software. It doesn’t have an internet connection either. So, after scrabbling around for a USB hub and WiFi adapter, I was able to
sudo apt-get install screen
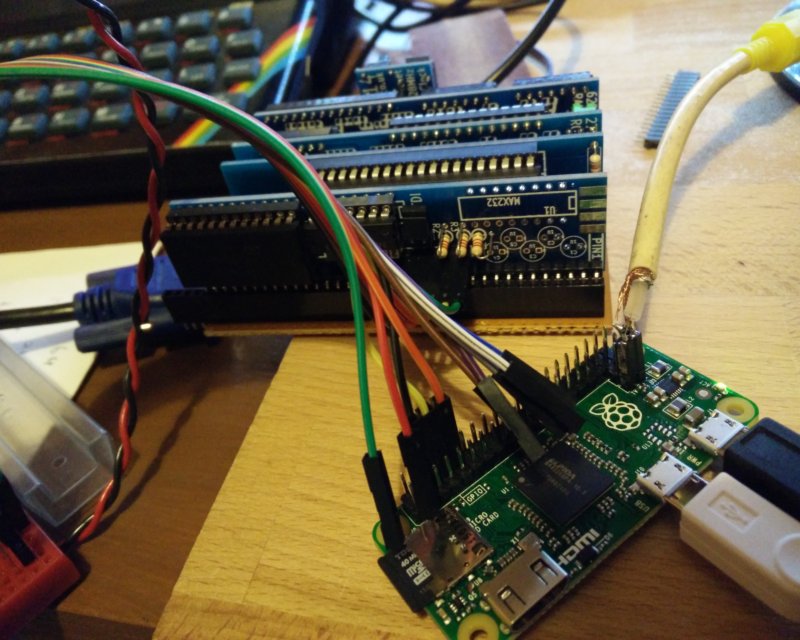
The serial port on the Pi Zero runs at 3.3 volts, and the RC2014 runs at 5v, so I had to make up a simple voltage divider with a 22k and 10k resistor to drop the Tx line from the RC2014 down to 3.3v. 3.3v from the Pi is sufficient for the RX on the RC2014 work.. The GPIO also has a 5v power pin, which can either be used to run the RC2014 if the Pi is powered, or run the Pi if the RC2014 is powered
By default, the Pi uses the serial port as a console connection to talk to it – not the other way around. So, to use it, it needs to be disabled (Yeah, counter-intuitive, eh?). After that, I just needed to run
screen /dev/ttyAMA0 115200
Next step is to fire up KiCad and get a PCB spun up that will mount the Pi to as another module in the RC2014, and work on optimising the boot-up time of the Pi. The irony of 30 year old slow computer booting up instantly, whilst the cutting edge “graphics card” takes over 30 seconds to boot isn’t lost on me