Arcade cabinets are great. For many of us they bring back memories of a wasted youth pumping in coins for an endorphin hit of flashy graphics, joystick wiggling and button mashing. But what if your favorite games are text adventures like Zork, or Hitchhikers Guide To The Galaxy? Or you get your adrenaline rush from writing code in BASIC? Even Wordstar or DBASE II can get the blood pumping.
Well, recently Pimoroni relaunched their Picade cabinet, which is a desktop sized arcade cabinet designed to add a joystick, buttons, sound and screen to your Raspberry Pi to turn it in to a great little arcade emulator. Luckily, it can easily be turned in to a home for your RC2014!
The new Picade cabinet is actually quite a bit smaller than the previous iteration, so initially it looked a bit touch and go if the RC2014 would actually fit inside. It is wide enough to take the Backplane Pro, but only just!
Although there is room for the RC2014 in the base of the cabinet, with the back closed the modules are sadly too high to fit the screen. Or with the screen fitted, the back won’t close.

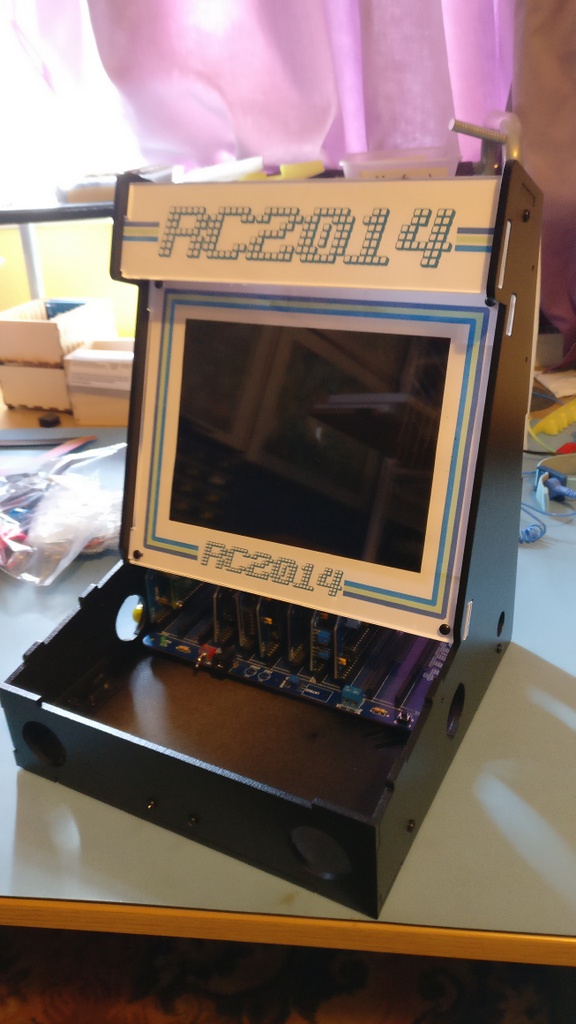
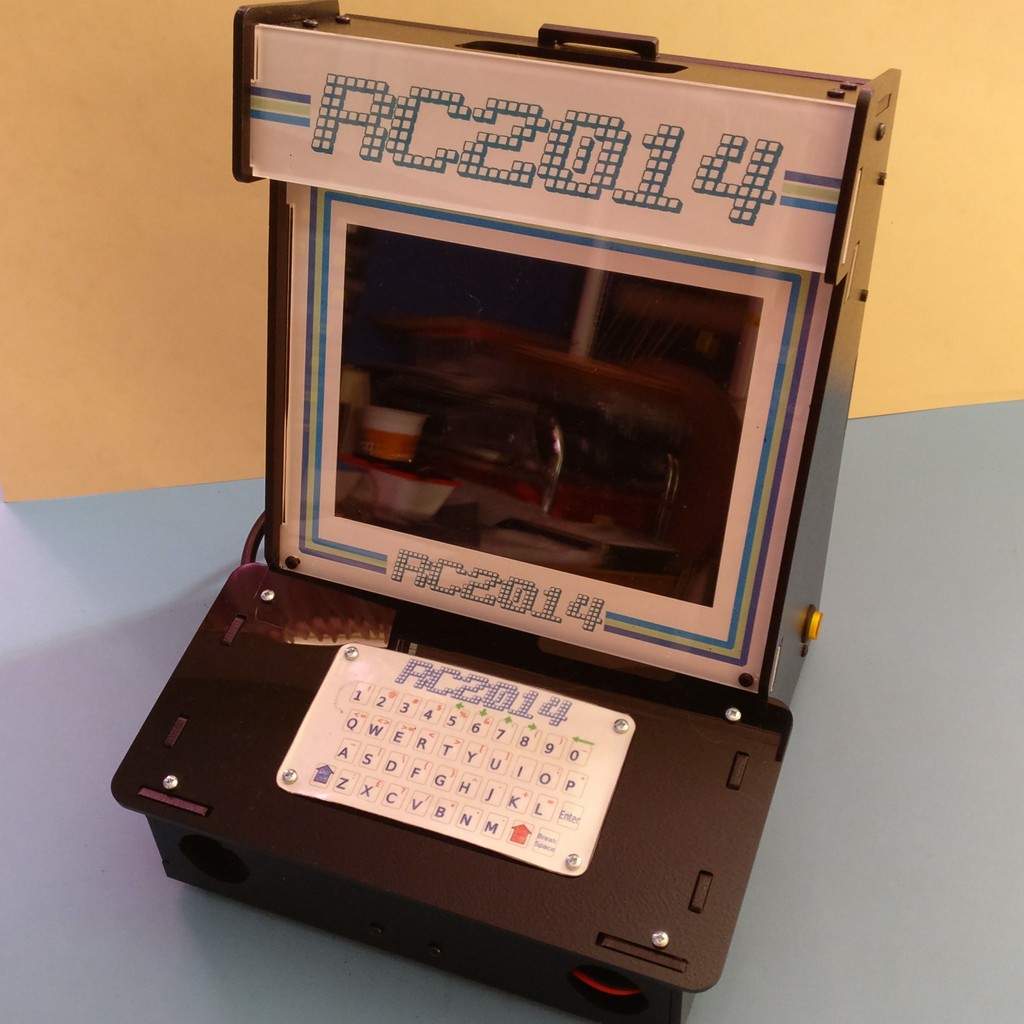
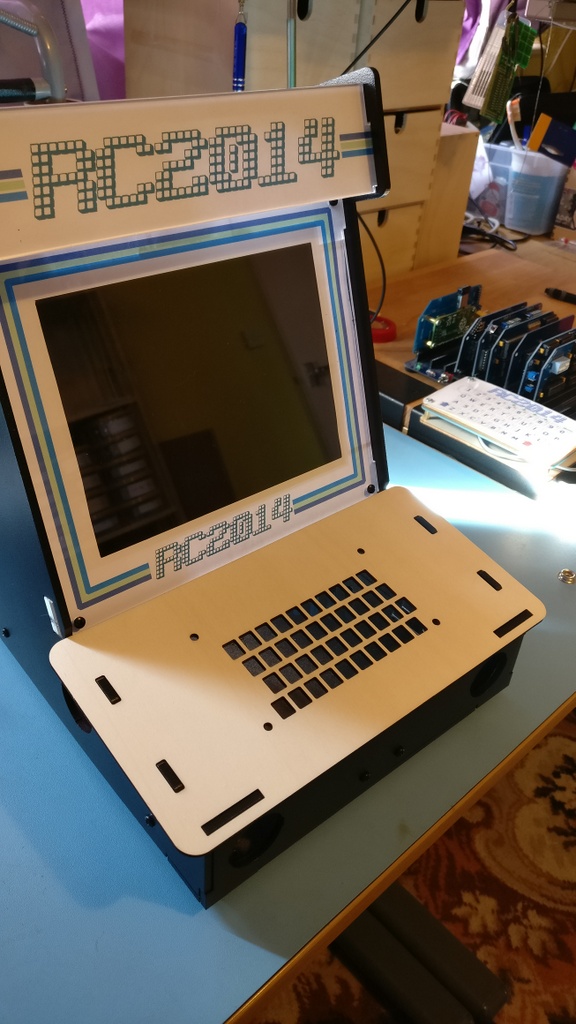
Talking of the keyboard, one of the first things that needs to be worked out is if the Universal Micro Keyboard can be use here. The panels that come with the Picade have cutouts for the joystick and 6 buttons. By working with the original keyboard case .svg files, it is easy enough to put this in to a bigger surround that fits the Picade panels nicely. Oh, and the screen surround and marquee can also be replaced with custom RC2014 graphics too!
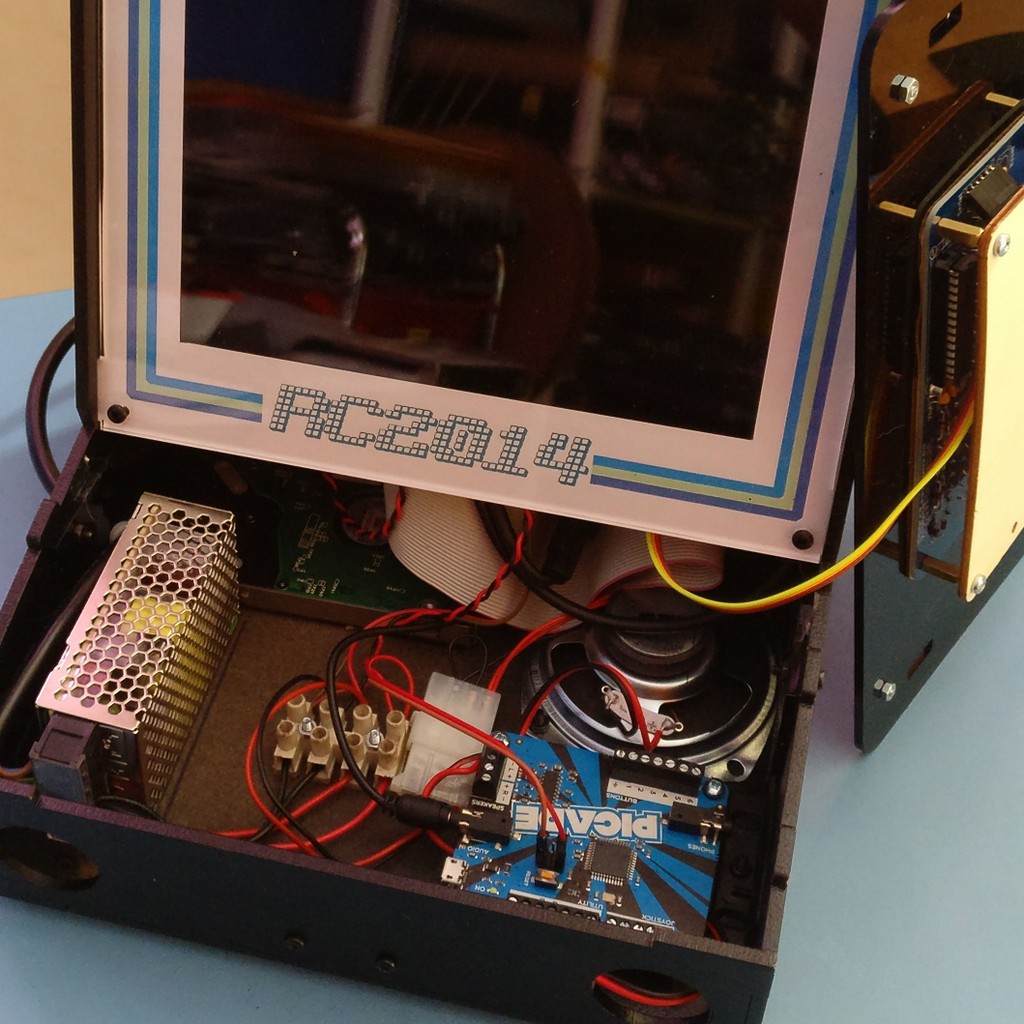
With a keyboard in place, the rest of the RC2014 and support hardware needs to be fitted. For my cabinet, I decided to use the speaker included with the Picade and drive that from an older Picade PCB with 3w amplifier. I also went with a fairly beefy 240v to 5v power supply which will not only be running the RC2014, but the screen, amplifier and a laptop hard drive.

Fitting all of these needed a few holes being drilled in the base panel. However, this is the only permanent modification to any of the Pimoroni parts.
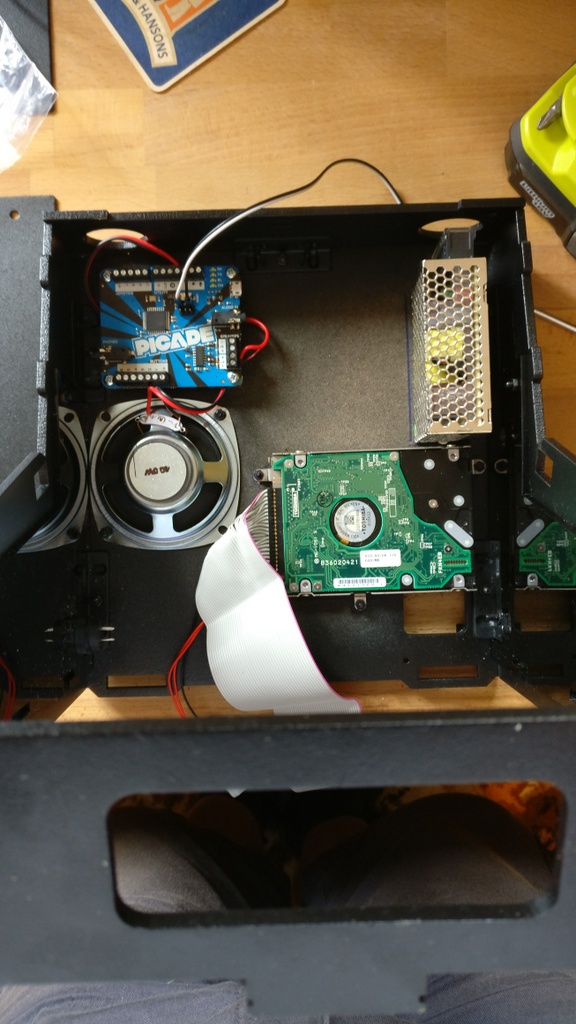

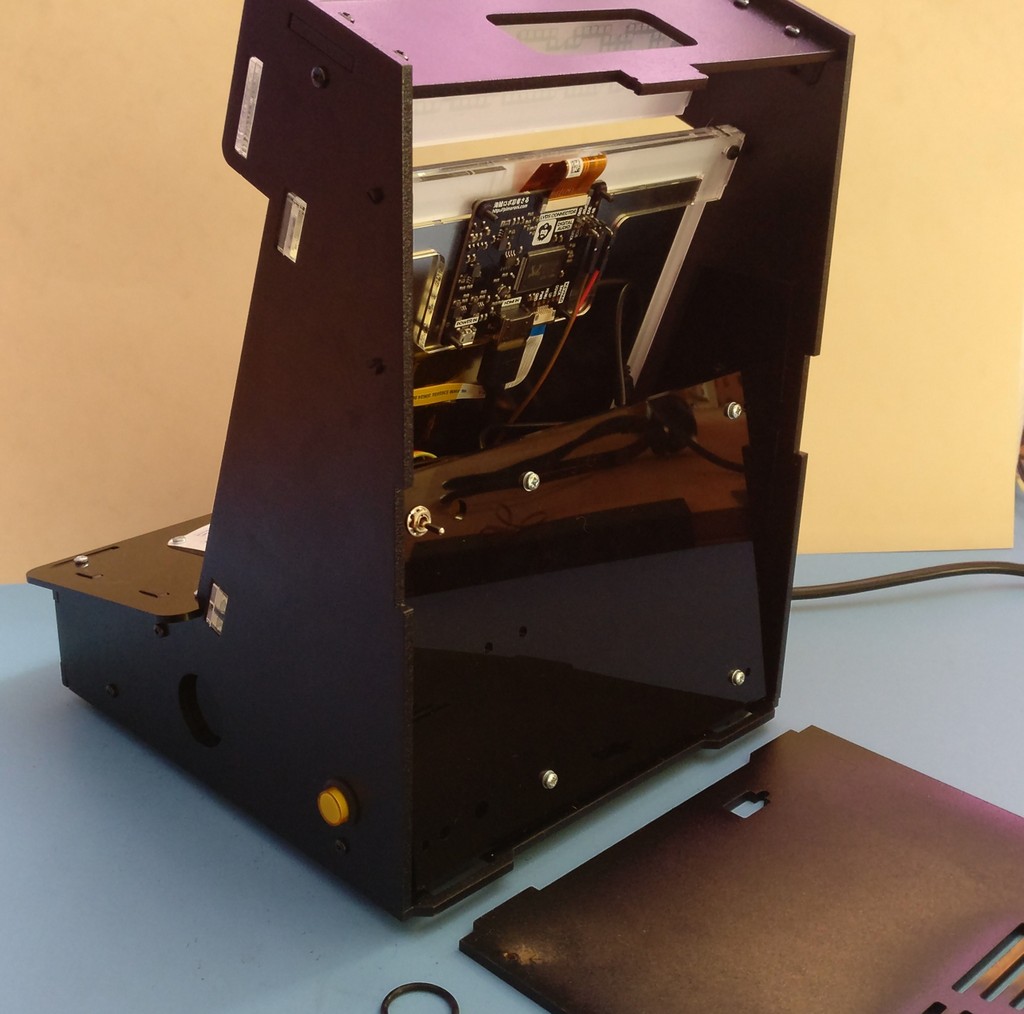
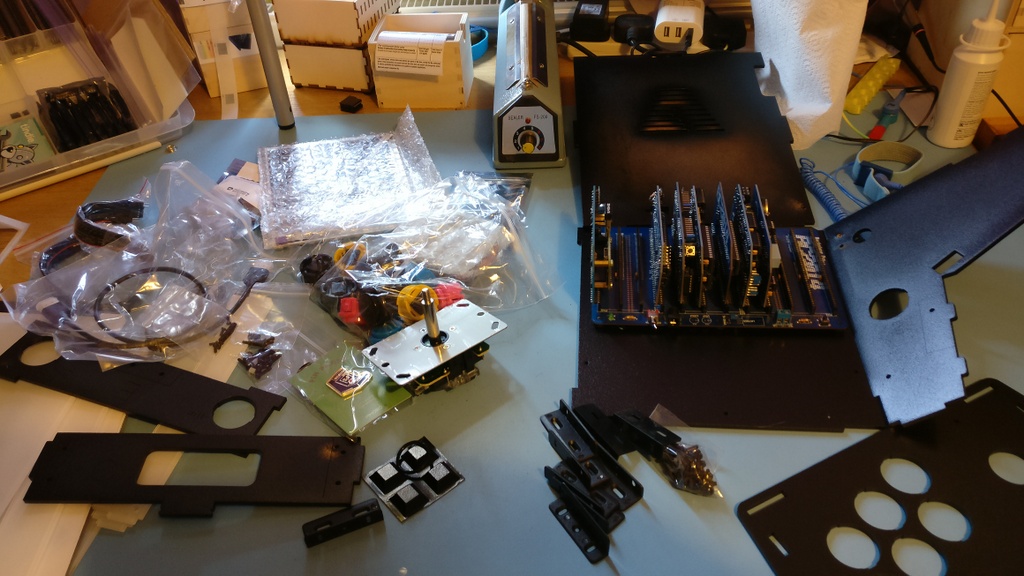
It became apparent that the RC2014 needed to be fitted vertically on the back of the cabinet. Sadly, the orientation shown on the photo above severely limited the amount of modules that could be fitted without pushing on back of the screen if the back was closed.
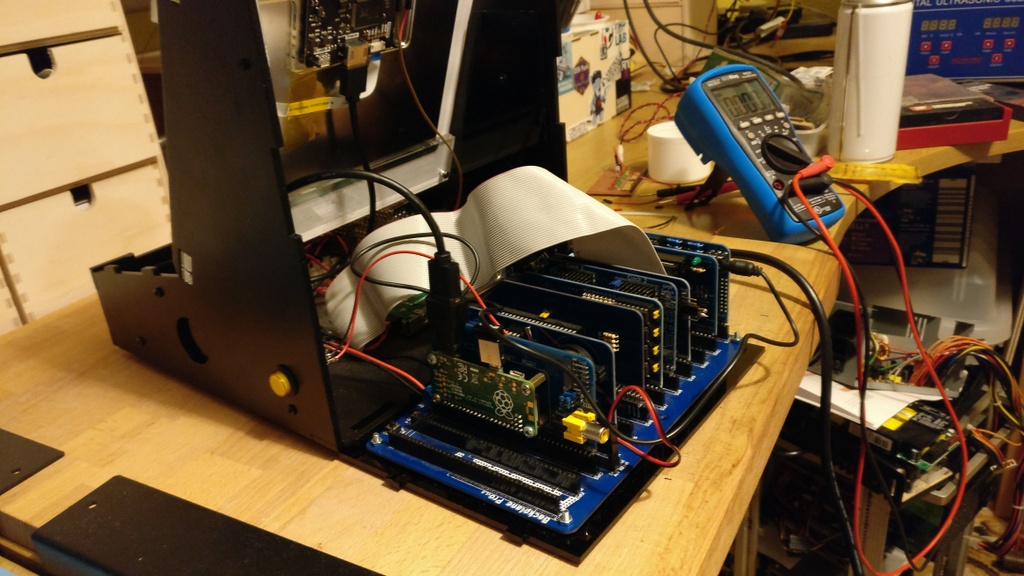
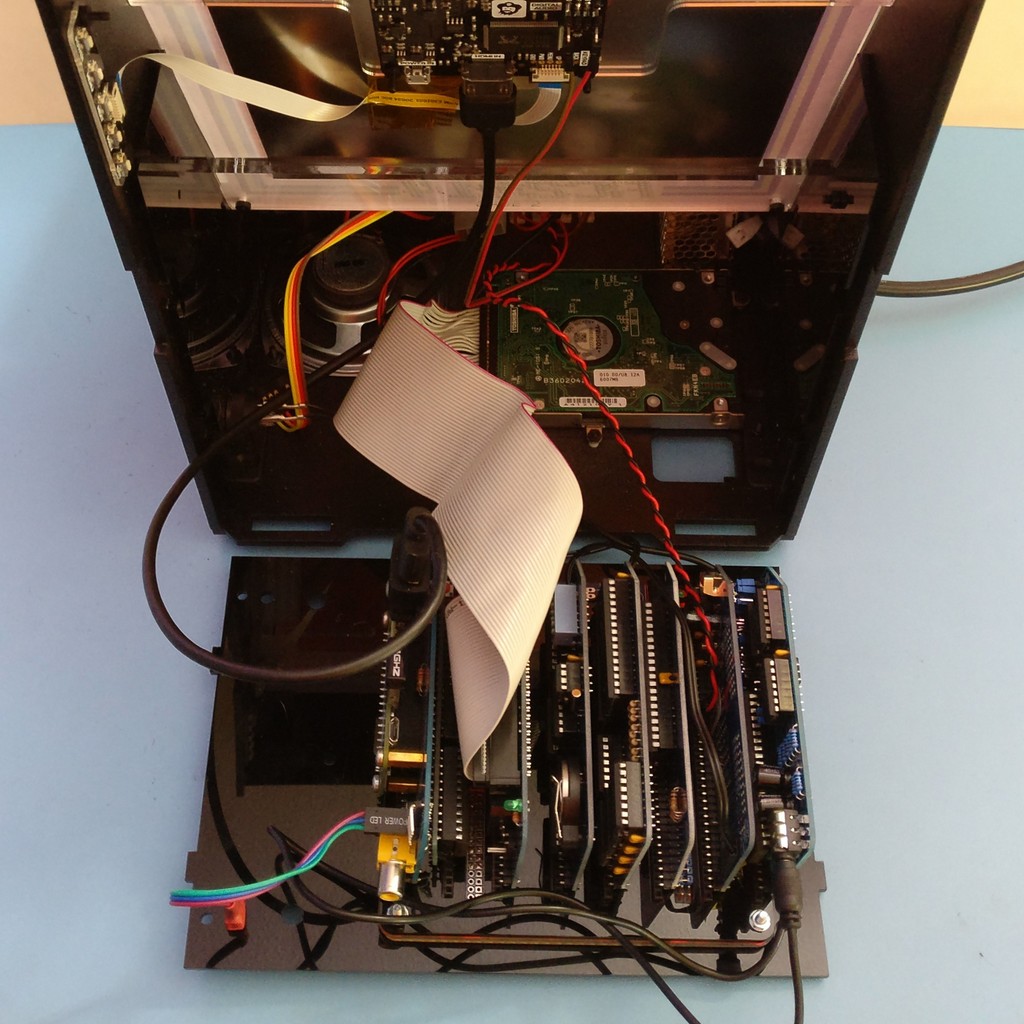
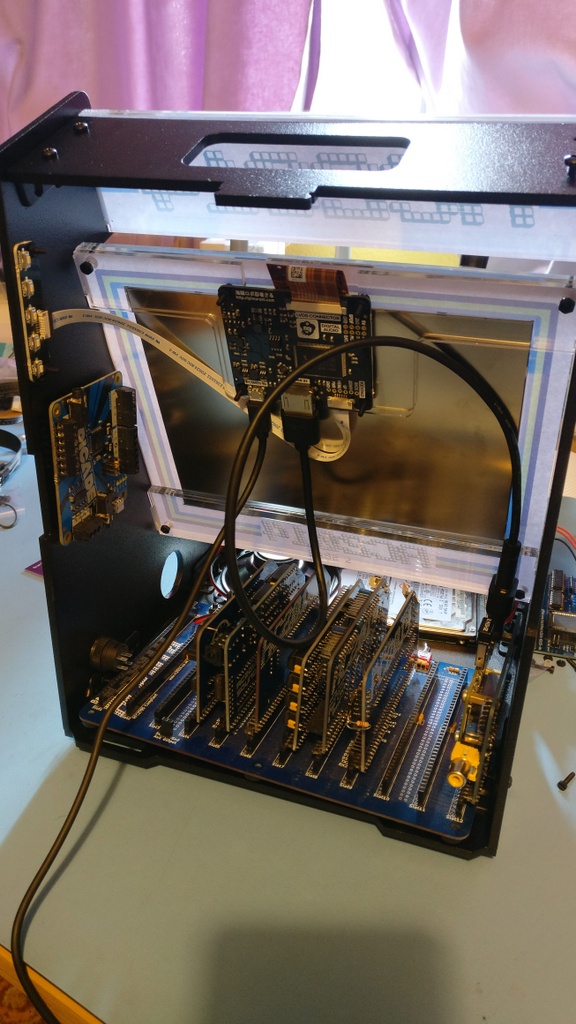
Mounting the backplane as shown on this photo was much better and only the outer 2 modules would foul anything when the cabinet is closed up. In order to make this easily accessible, I made a mounting plate for the backplane. This has a couple of lugs on each side that fit in cutouts on a couple of inner panels. The inner panels are held in place with the original fixings that come with the Picade, and the mounting place clicks in place with a satisfying clunk and still allows the back panel to be closed.
Ultimately I decided on a fairly compact RomWBW basedRC2014 setup which was made up of YM2149 sound module, Dual Clock module (with only single speed clock components fitted), Z80 CPU, 521k ROM/512k RAM, DS1302 RTC, 82C55 IDE, 68B50 Serial and Pi Serial terminal. All of this fits on a Backplane 8 without needing any of the extended bus pins, so I could get away with using the smaller backplane and leaving room for extra switches. The one shown below connects to the Pi Serial Terminal and allows swapping between the Universal Micro Keyboard and a larger wireless keyboard adapter plugged in to the USB of the Pi. The Picade power button has been re-purposed as a reset button.
If you want to make your own RCade, I have put the laser cutting files for the keyboard, side panels and backplane mounting panel up on Thingiverse. You will have to work out your own mounting holes for hard drive and PSU depending on your exact setup.