So, all the way back in deepest darkest December, I announced I would enter the Retro Challenge 2016 competition that ran throughout January. Those of you that followed by blog or Twitter account when I did this in 2014 will know that I blogged and Tweeted relentlessly for the whole month, but, this time around, almost nothing. Obviously, I’m keeping some secret about an amazing breakthrough or something, right? Well, truth is, I’ve done almost nothing.
Things started well, and on 1st January, I designed a new backplane for the RC2014. Although I hadn’t studied the circuit diagrams for the ZX81, Jupiter Ace or ZX Spectrum yet, I knew that there were resistiors between the Z80 CPU and other devices. The stripboard backplane I’d been using had served me well, but it was time to progress to a better solution, and one that could be adapted better to my needs. Knowing that PCB delivery times could be against me, I thought it best to crack on and get this ordered.
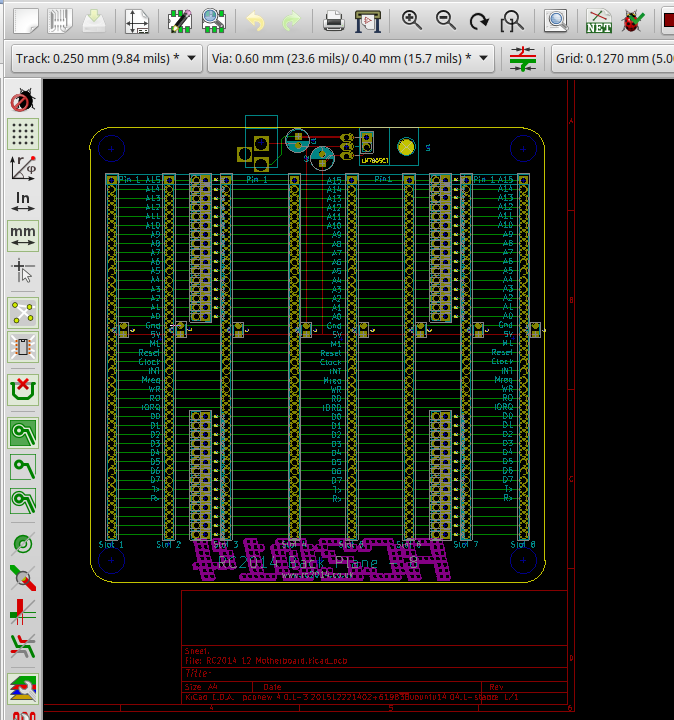
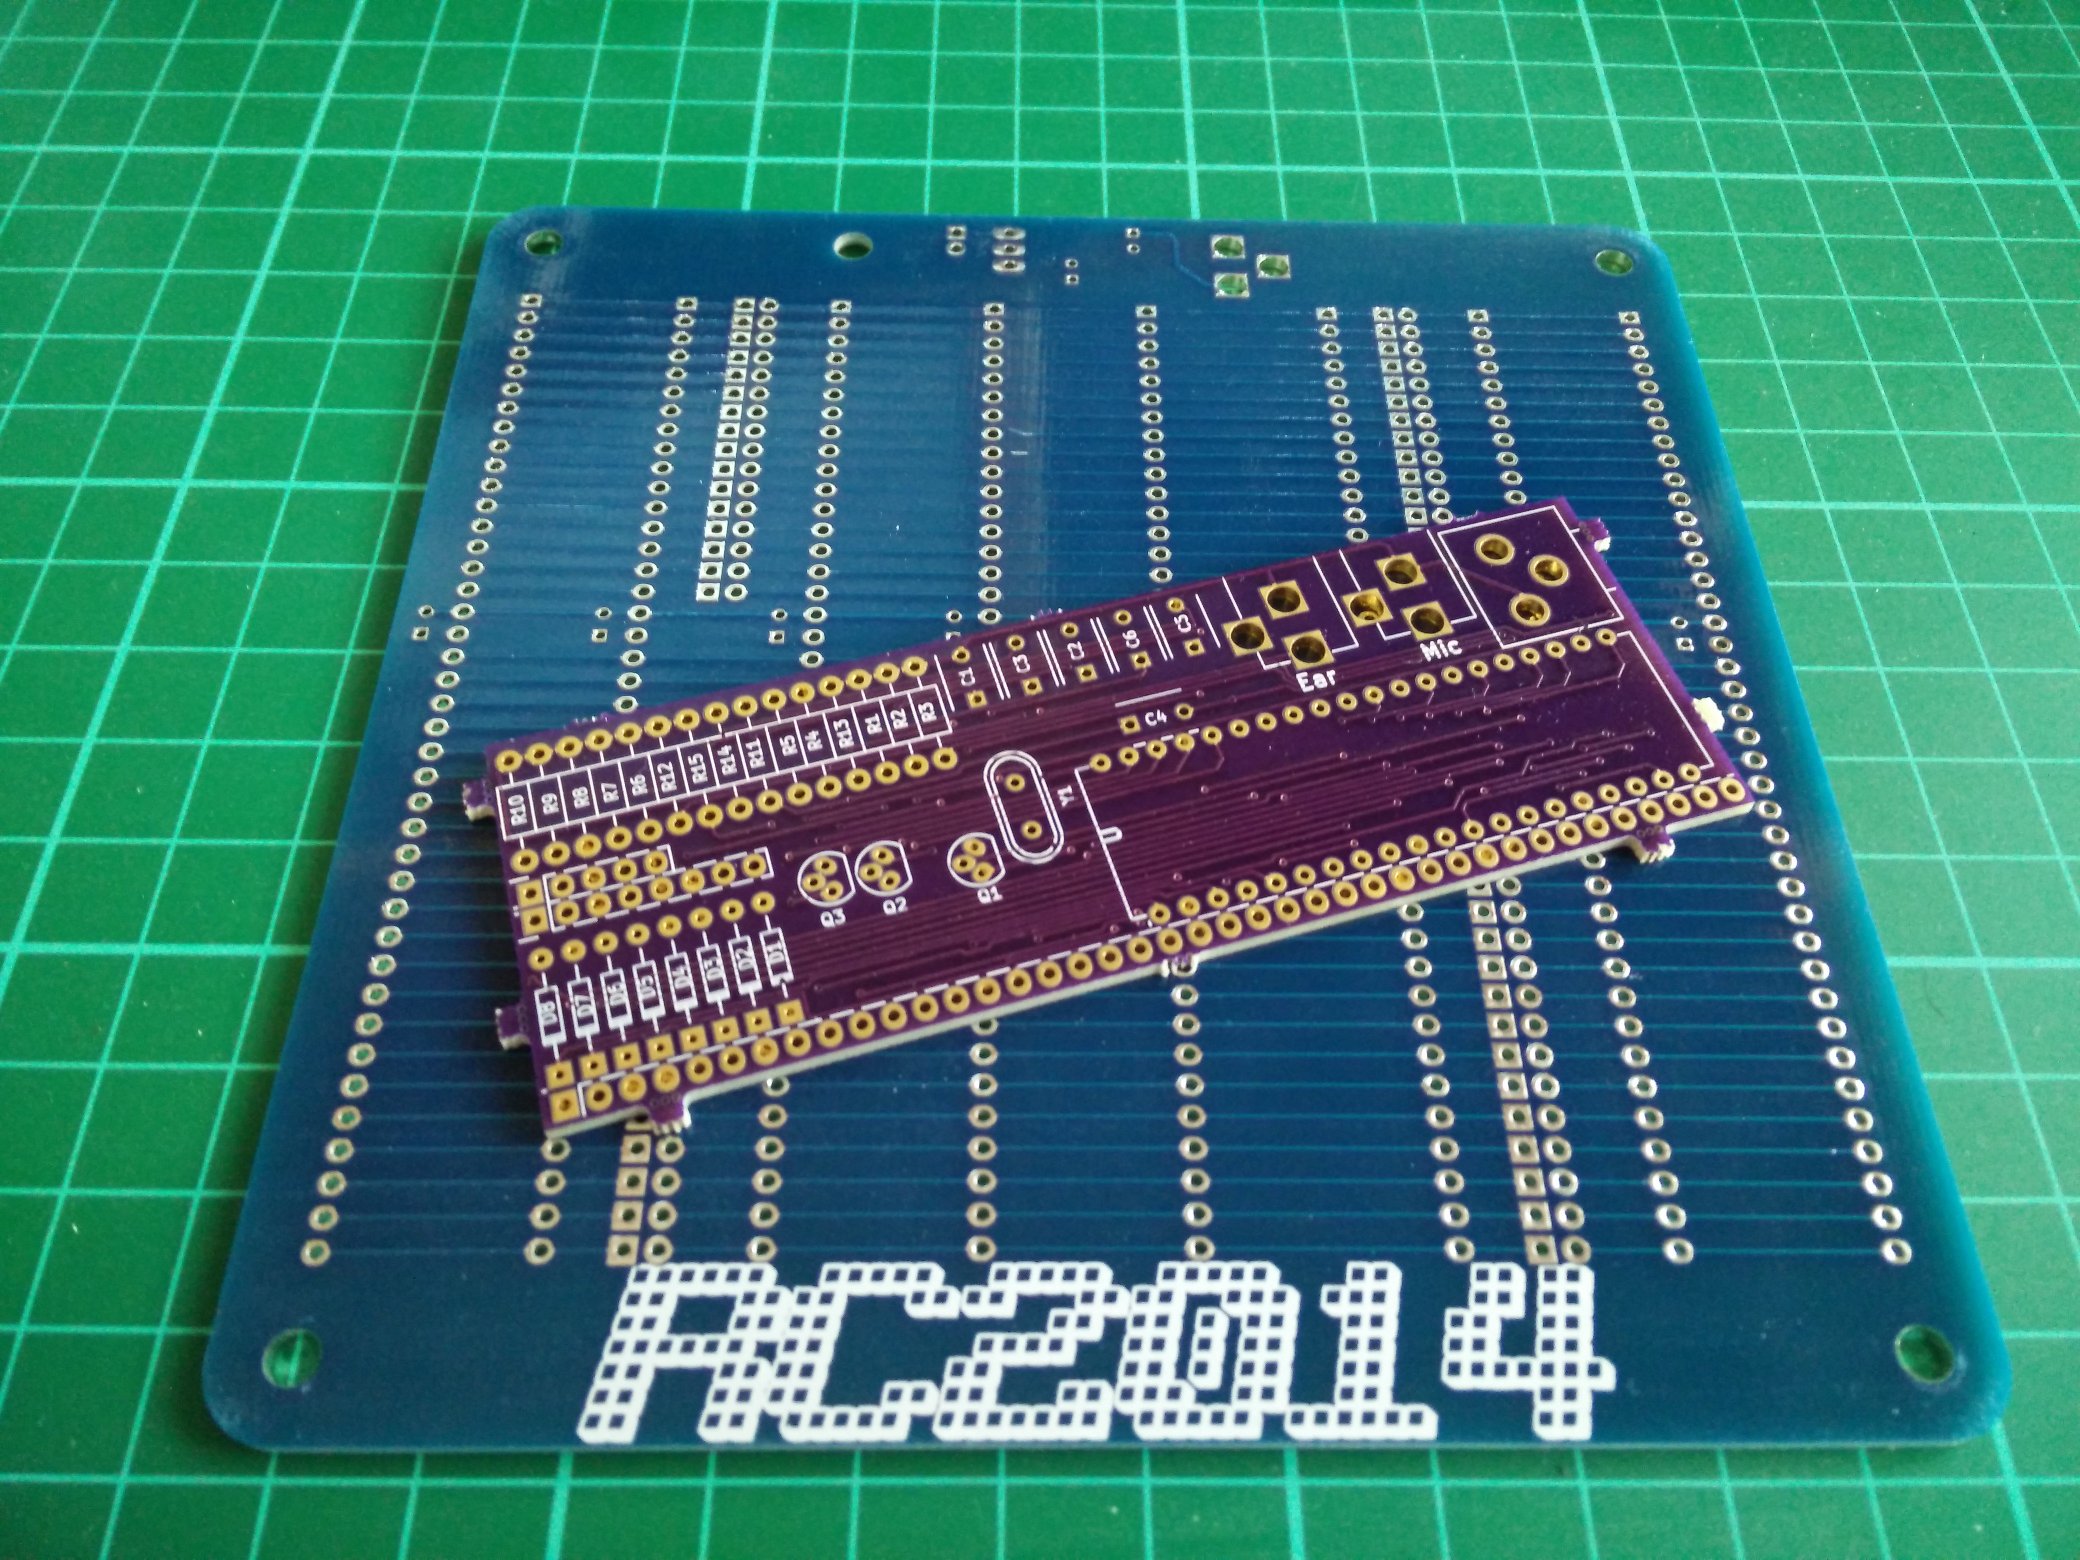
The basic circuit is very very simple – however, I wanted to get this just right, not only for Retro Challenge 2016, but for other possible RC2014 uses. Essentially, there are 8 40 way connectors that are linked straight through – however, the data lines and address lines for the leftmost 2 connectors and rightmost 2 connectors are separated by a pair of pads. These can either be shorted together for up to 8 commoned connectors, or have resistors soldered across them. I also added a power connector and the option of either running 5v directly in to the board, or regulating a higher voltage down via a LM7805.
Then things went got busy. I knew January was going to be a fairly busy month, and a weekend away for family stuff was already factored in to my schedule. However, a fault on my car lost me innumerable hours waiting for rescue, collecting rental car(s) and taking a whole day to pick up my repaired car a fortnight later. I thought I would get some time to at least blog about this whilst on a work trip to Germany for what should have been a straight forward datacenter install turned in to the week from hell with no spare time at all. My tux didn’t come back from the cleaners! An old friend came in from out of town! Someone stole my car! There was an earthquake! A terrible flood! Locusts! IT WASN’T MY FAULT, I SWEAR TO GOD!!!
I did manage to squeeze in an afternoon for what is probably the key part of the challenge. If you recall, I said I would add either ZX80, ZX81, ZX Spectrum or Jupiter Ace functionality to the RC2014 computer. As the RC2014 already has a Z80 CPU, ROM, RAM and clock functions, the only missing bits are the keyboard driver, video output, cassette input/output and the logic that make each model unique. As they all share the same heritage, it’s a reasonable assumption that they will share similar circuitry. Well, lets consider these in order;

ZX Spectrum is actually quite a complex beast. It has 16K ROM, which immediately makes it tricky for the RC2014. The colour video output is quite difficult, and needs 12V AC, and the overall component count just makes things big and expensive. Probably best not to start off with this one.
Jupiter Ace is much simpler than the Spectrum, and uses off the shelf logic chips. Overall it is fairly straight forward to follow, however, it has strangeness going on with the video RAM and user RAM, with 6 x 1k RAM only allowing for 3k to be addressable. Hmmm… also probably not best to start with this.
ZX80 is much more straight forward. Simple memory, logic and video signal generation. It’s easy to follow and uses standard logic chips – albeit a lot of them.
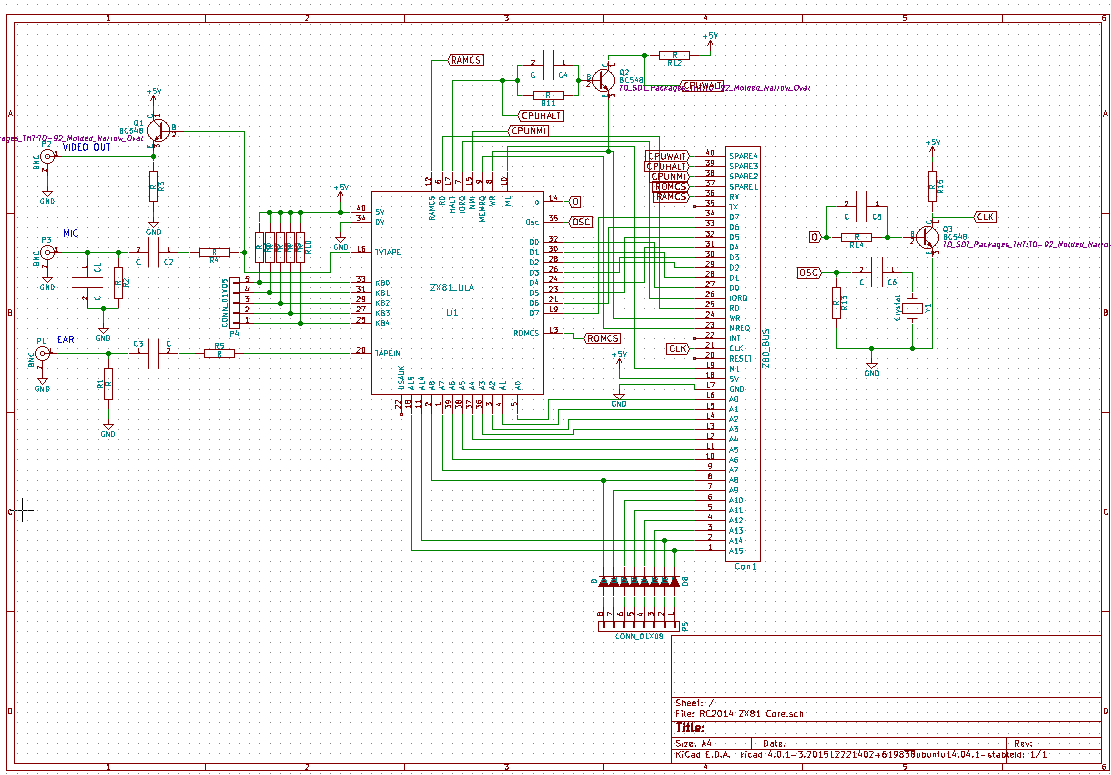
The ZX81 really isn’t very different to the ZX80. Essentially, all the logic from the ZX80 is housed in a single 40 pin ULA (Uncommitted Logic Array) with some ancillary support components. The ROM is slightly better and the keyboard is better too. As time was running out, based on the simplicity and low component count, this was the winner.
After highlighting all the parts of the circuit which the RC214, all I needed to do was transcribe what was left in to Kicad Schematic and plot it out on to a PCB
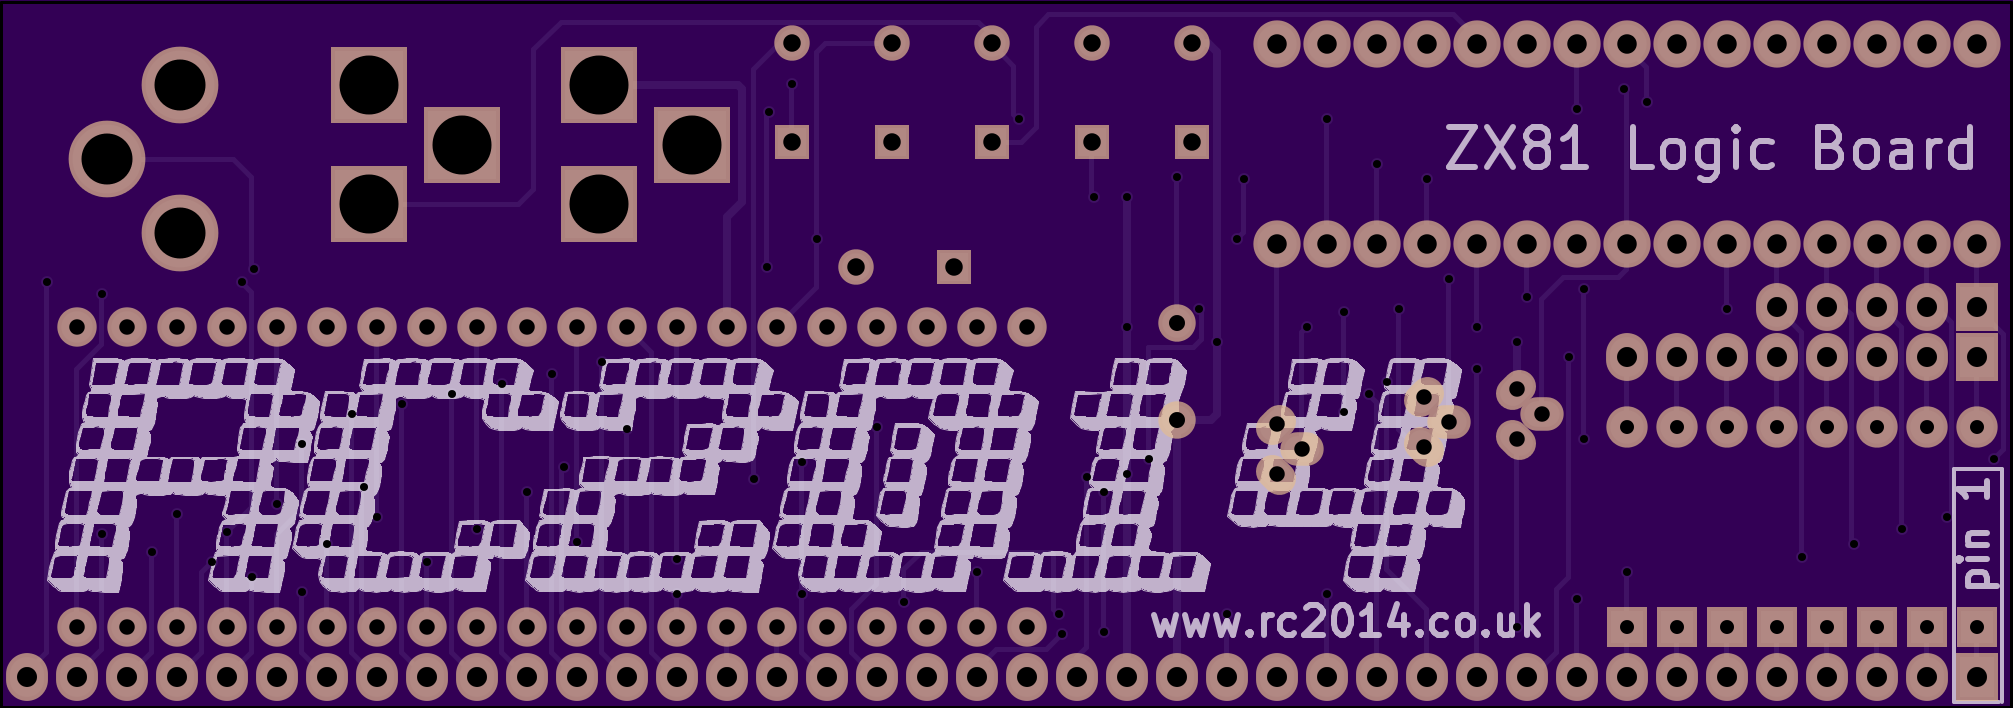
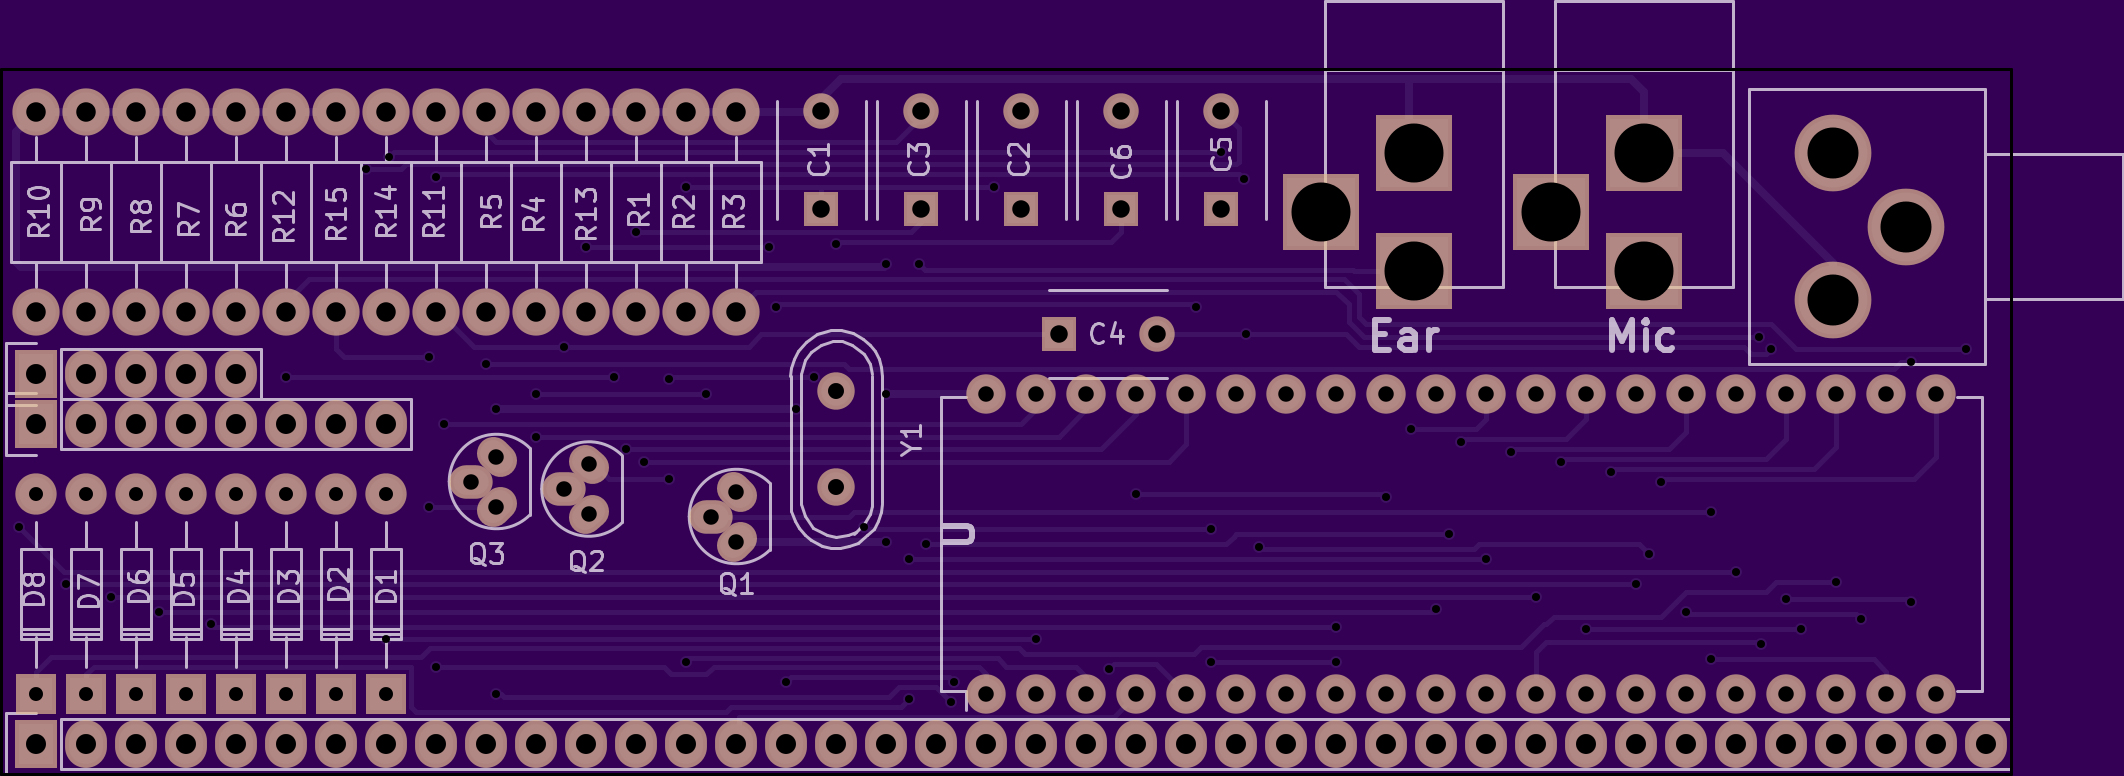
For low volume, quick turn around PCBs, I always use OSHPark. At just $5 per square inch, with 3 copies of the board being supplied in just over a week, they can’t be beaten. Also, the purple looks just beautiful!
Sadly, I was out of the country when the boards arrived, and with today being the last day in January, I had to make the choice of putting these together, or writing this blog post. Obviously, I opted for the blog post, but don’t think that this project will be abandoned. Without the time constraints that I’ve had so far this month, I should be able to work on this at my leisure.
Watch this space…