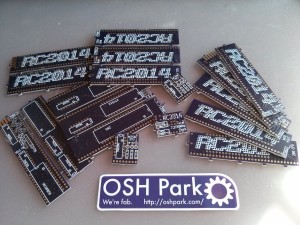
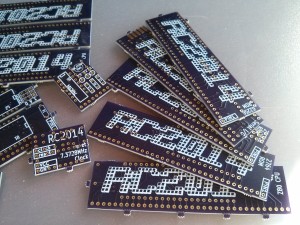
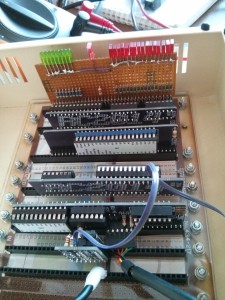
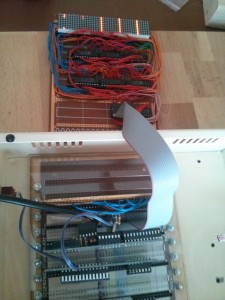
So, exactly 3 weeks after they were ordered, the PCBs from OSHPark arrived today. It’s just as well, as I was running low on things to do without them, and with just 6 days left of the Retro Challenge I would have struggled to finish in time.
Well, that’s my weekend planned out for me now!
I think I’ve mentioned it already, but OSHPark manufacture boards in multiples of 3. Even though I only need one of each board, the price is better than anywhere else even for a single board. It also means if I have messed up and need to cut tracks or have variations to swap in then I’m covered.
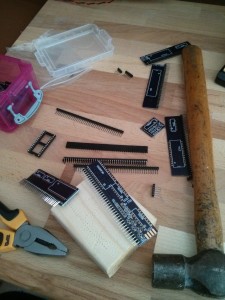
Almost straight away I noticed my first mistake. When I created the ‘connector’ part, I didn’t change the default hole size. So although it’s fine for wire components or chip legs, the thicker pins on the 0.1″ headers were just too tight. Eventually, with some subtle persuading they went in. I’m sure I could have left them unsoldered without any effect!
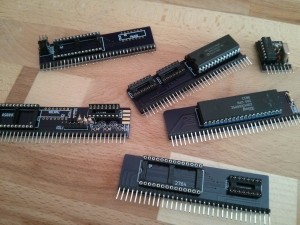
So, bit by bit I assembled the boards for the CPU, the eprom (for BASIC), the eprom (for my machine code), RAM (incorrectly screen printed with ROM on), serial I/O and clock/reset.
I had a nerve-biting start when I plugged in just the clock and the Blinkenlights and found it wasn’t giving out a clock signal. Closer inspection showed that I’d plugged the board in 1 pin to the right of where it should be! After reseating it correctly the clock was there.
So, in with the other boards. Initially, I got nothing. One by one I started to take the boards out and test without them. As I pulled the eprom board out I almost burned my fingers on the little logic chip on there. It turns out they can give off a lot of heat when plugged in the wrong way around! Who knew! One of the other casualties of this was the CPU. After changing the fried chip and CPU for known good ones… it bloody well worked!
Using PUTTY through a FTDI cable I can connect to it and run BASIC. This way I can check all the hardware is doing what I expect it to do and that when I come to run my assembler code on it I can be sure it’s the code not working rather than the hardware.
I tried out the LED matrix board through the adapter I made on Tursday, and, although it sort of worked (some lights came on), it didn’t behave as I would expect. There’s still a little bit of doubt over the orientation of the displays, so top left might be bottom left, or one dot in top right might be 7 dots up the right side except for the top one. So I still have to ‘map’ the display yet.
However, it is not behaving rationally. I ran a BASIC program that I would expect to light each pixel sequentially on each of the 8×8 matrices simultaneously. This is what I got;
I am suspecting a power issue, but I’ve not yet ruled out a short or bad wiring, or even faulty chips. I guess this will keep me busy tomorrow

