Despite a late start today, things have gone well so I actually feel like I’m ahead of the game right now. Certainly not finished, but with most of the major hurdles now behind me, the only thing left is writing a bit of Z80 assembler code. And even that is starting to look manageable.
I started off by throwing a load of capacitors at the matrix board. If it was a power issue, then this would likely help… and, would you believe it, it did! I redid the test that was giving me odd results yesterday with 3 matrices and got exactly what I expected to see! (Well, actually, I got what I should have seen. I actually expected it to still behave oddly).
So, I added the other 2 matrices and they worked too. Then they didn’t. Then they did. The ‘not working’ had all the hallmarks of a short circuit between one of the X axis and one of the Y axis. So, I pulled out all the displays and had a poke about…
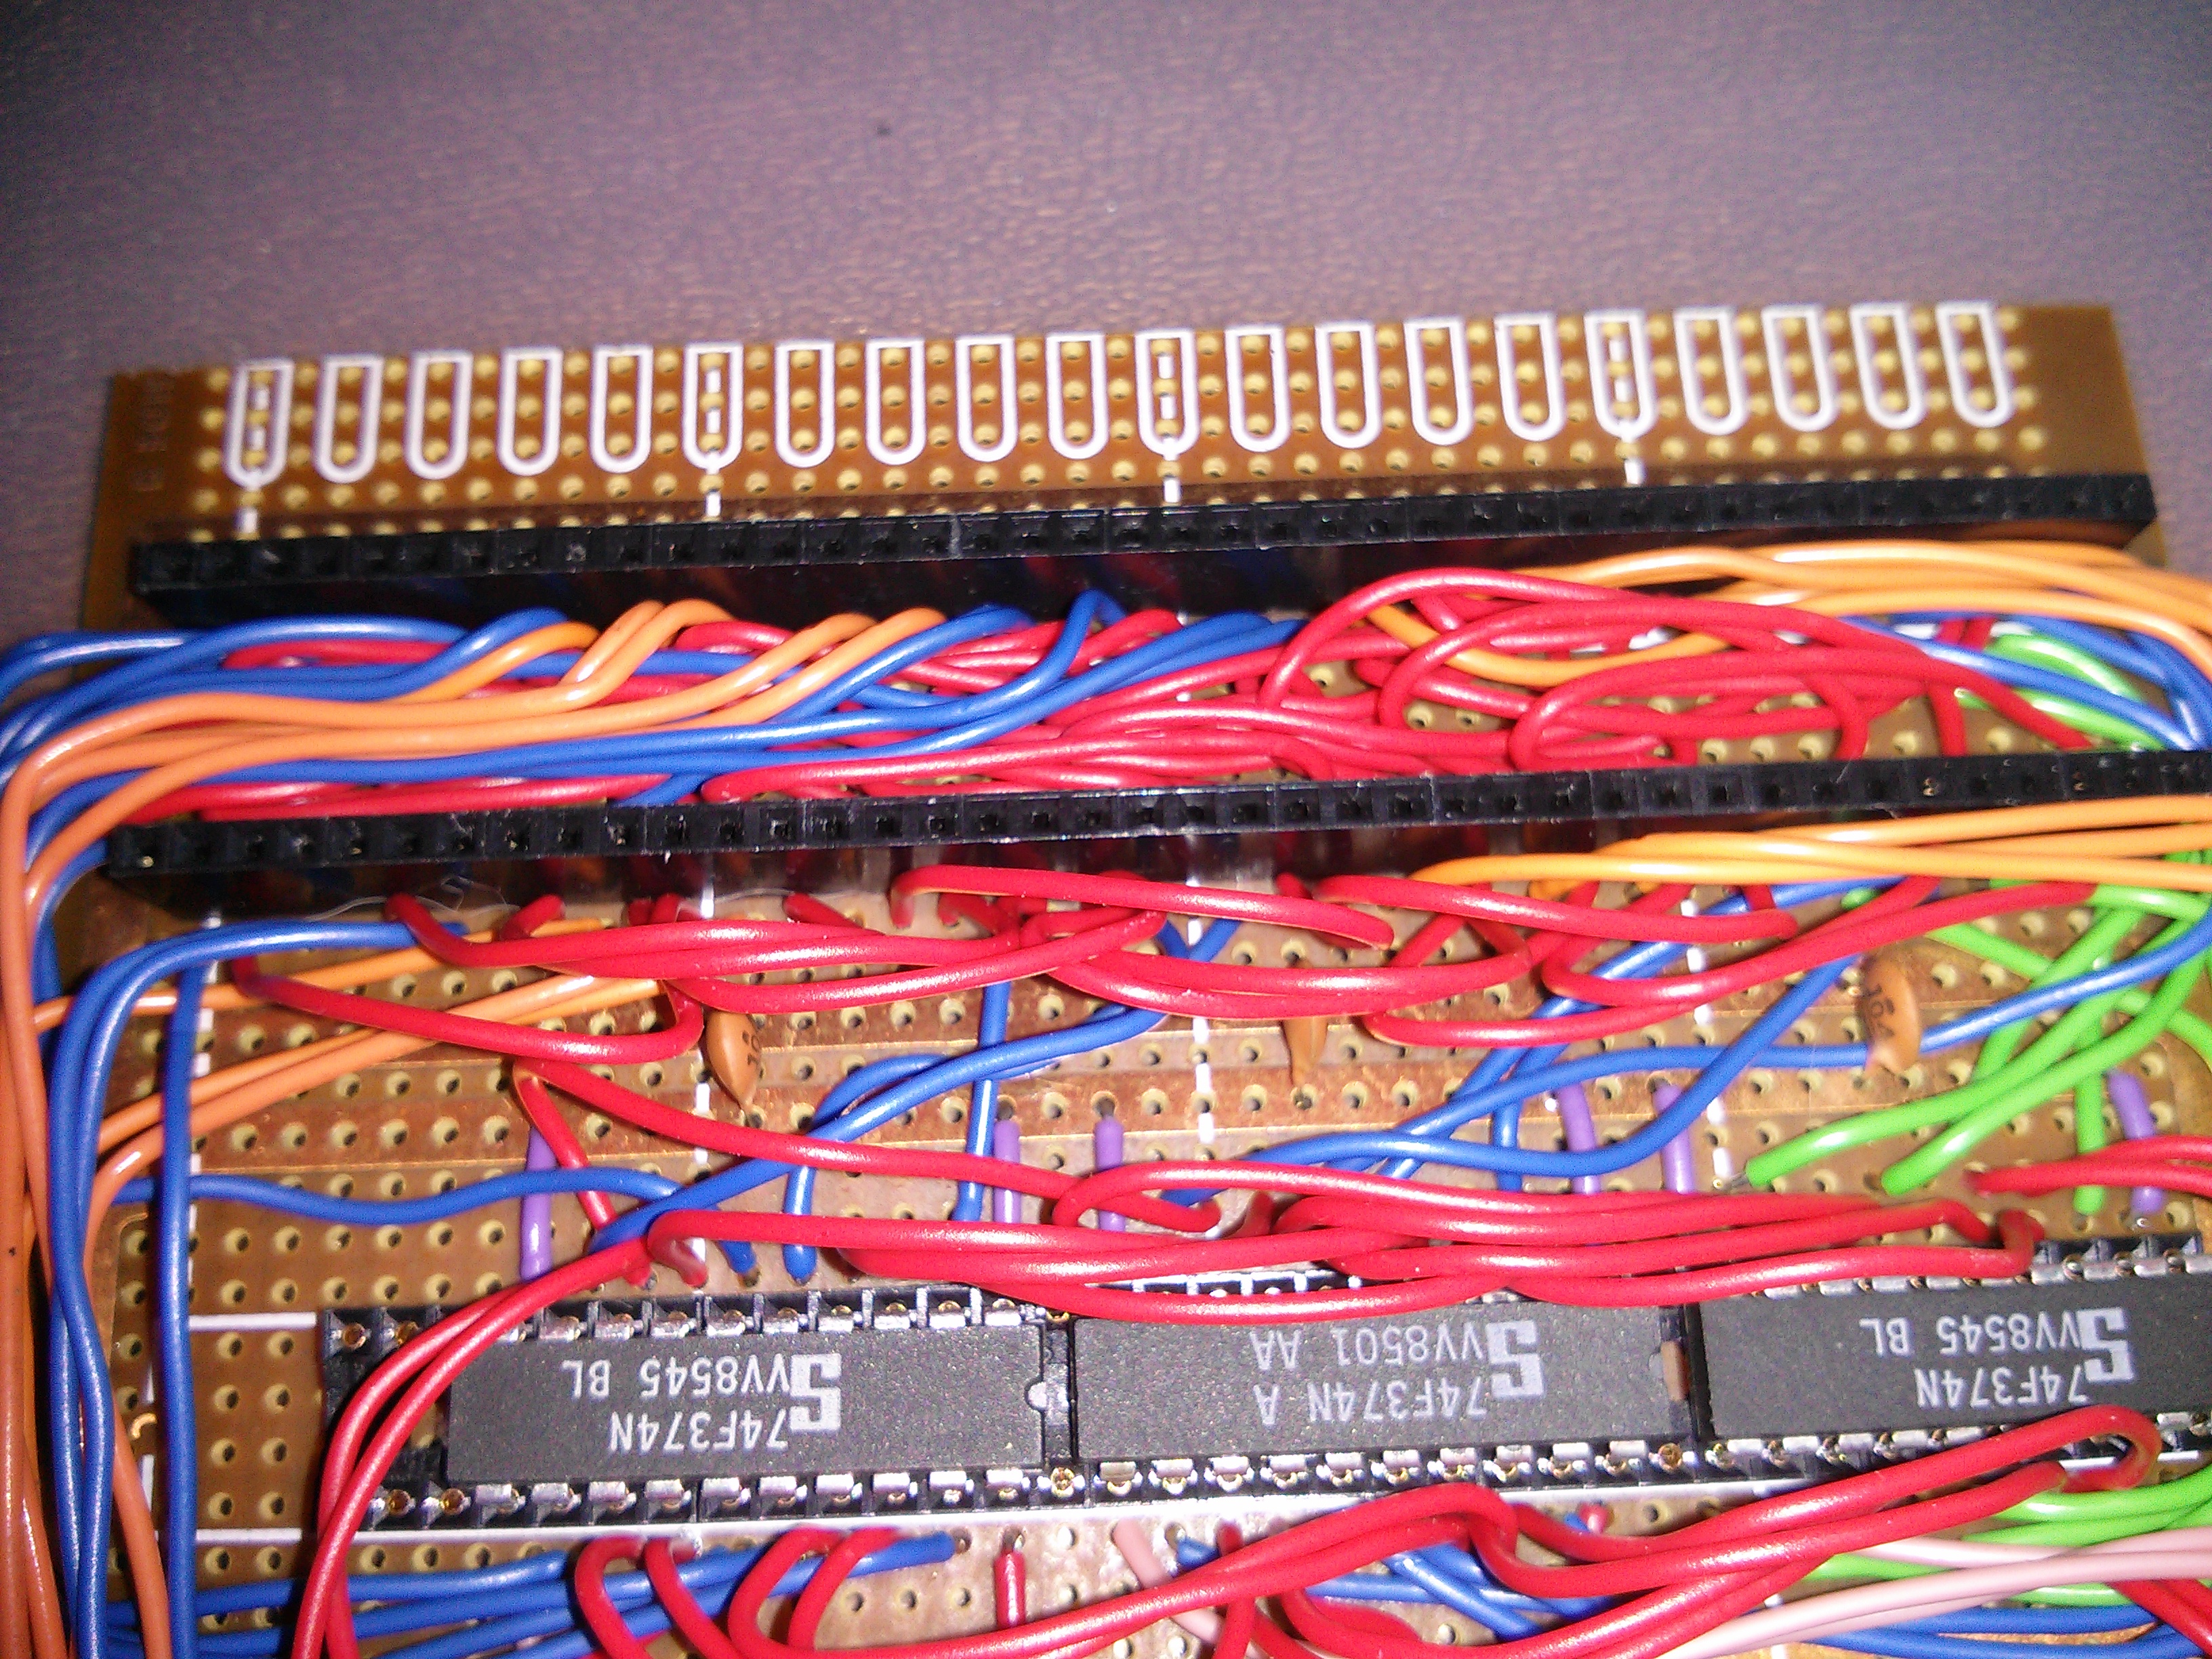
Can you spot a short circuit in there?
I poked about and generally freed up all the wires, put the displays back testing them one by one, and it seems to work fine. So, as long as I don’t breath too hard, I think that gremlin will be kept at bay.
Using BASIC I ran a few more tests, and it would appear that I did get the X and Y axis wired up wrongly. Oh well, it just means I will have to write my name as
S
O
w
e
n
instead. Yeah, sure, I could go through and rotate all the ASCII character encodings by 90 degrees, but do you really think I’ll bother to do that? Well, we’ll see…
I also fired up my EPROM programmer and did a test on a 64k EEPROM that I designed one of the other boards for. [This needs a computer with a real parallel port, so my Toshiba Satellite Pro 4600 running Windows 2000 keeps me well within the Retro Challenge guidelines!]
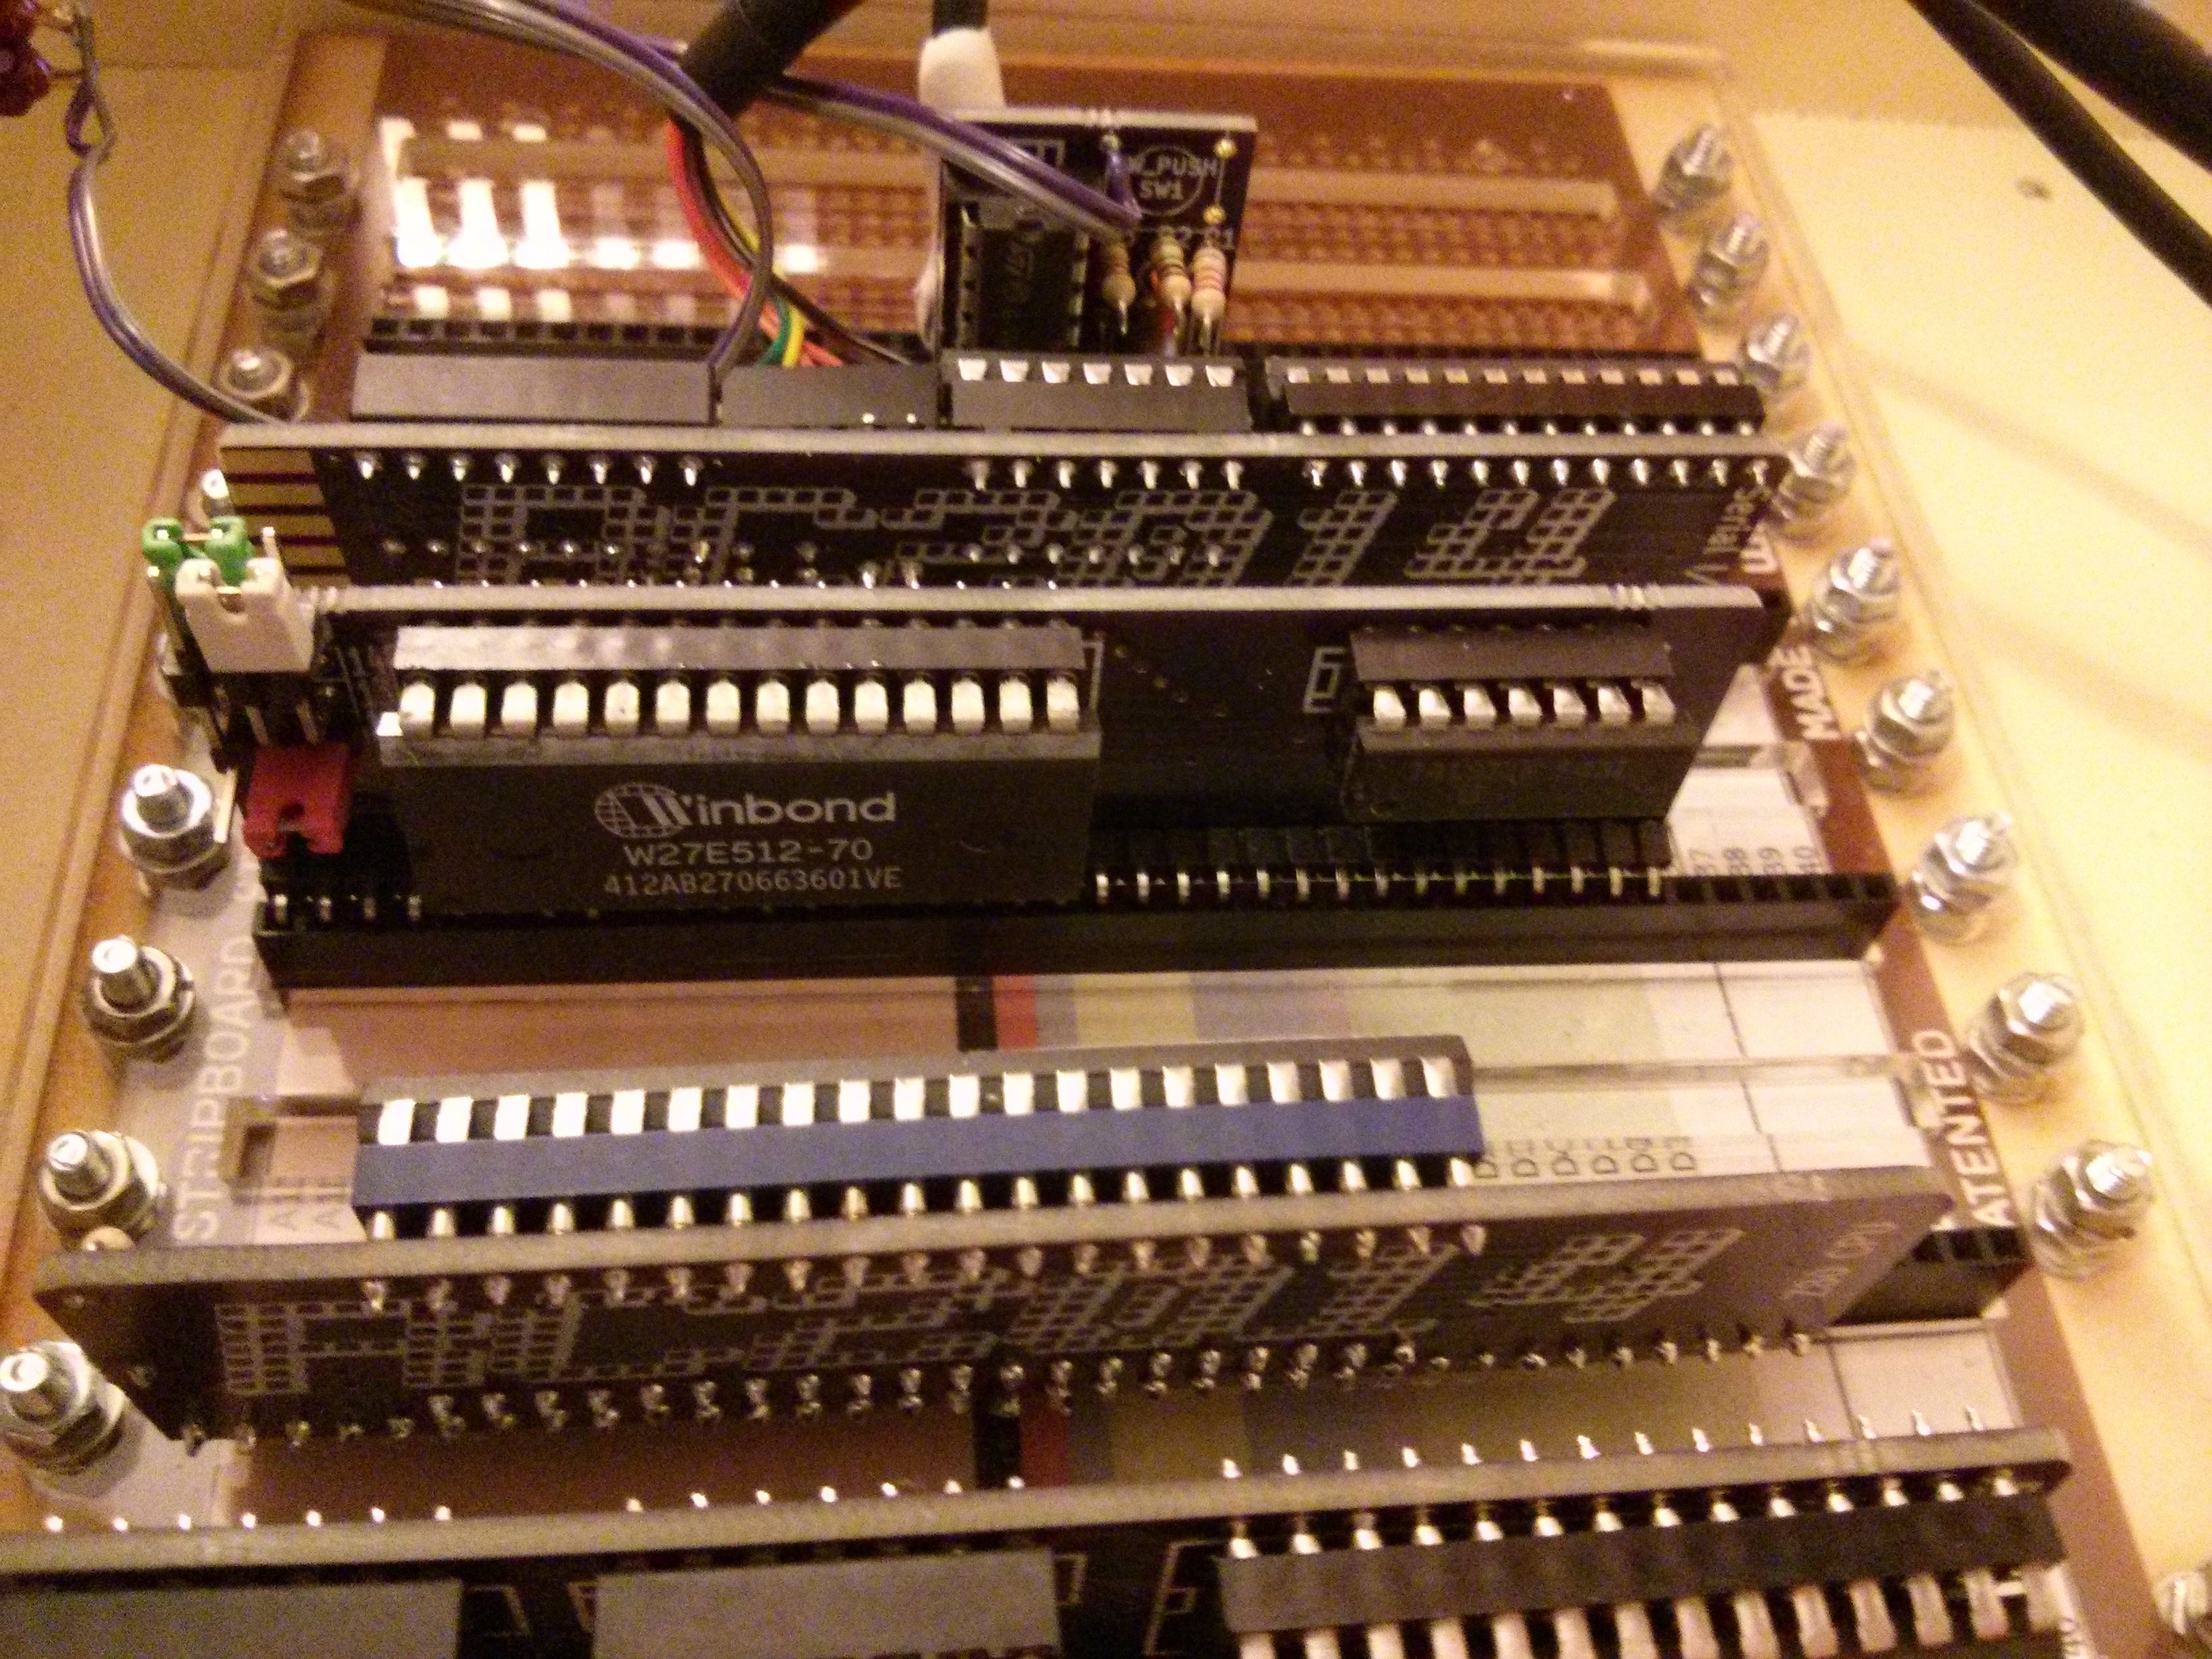
The 64k is divided up in to 8 banks of 8k by 3 jumpers. These jumpers set the A13, A14 & A15 lines either high or low. I have tested this by burning a copy of MS BASIC to the EEPROM at an offset of 0x2000 and then again at 0x4000, and these work fine with the appropriate jumpers connected. And there’s still 6 more slots left on this chip before I need to erase it!
So, tomorrow, I’ve got no more excuses, it’s time to crack on with the Z80 assembler code. It should be reasonably straight forward… but I just know there’s going to be something to catch me out.