I knew there would be some stumbling blocks with this Retro Challenge, but, hey, it wouldn’t be a challenge if everything was just nice and simple. However, I seem to be beset by little stupid technical issues that aren’t necessarily retro in nature.
However, the fact that you’re reading this does at least mean that my blog is working again! I ran some updates last week, and it caused some issues with a plugin meaning I had no way of adding, editing or modifying any posts. I’ve now got that tracked down to the Poll plugin and disabled it. So, yay, I’m back!
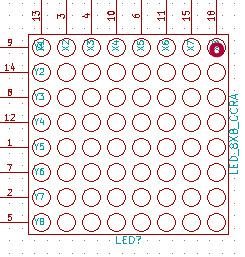
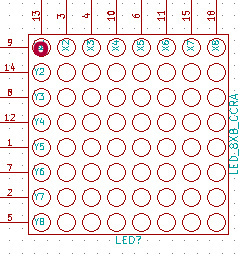
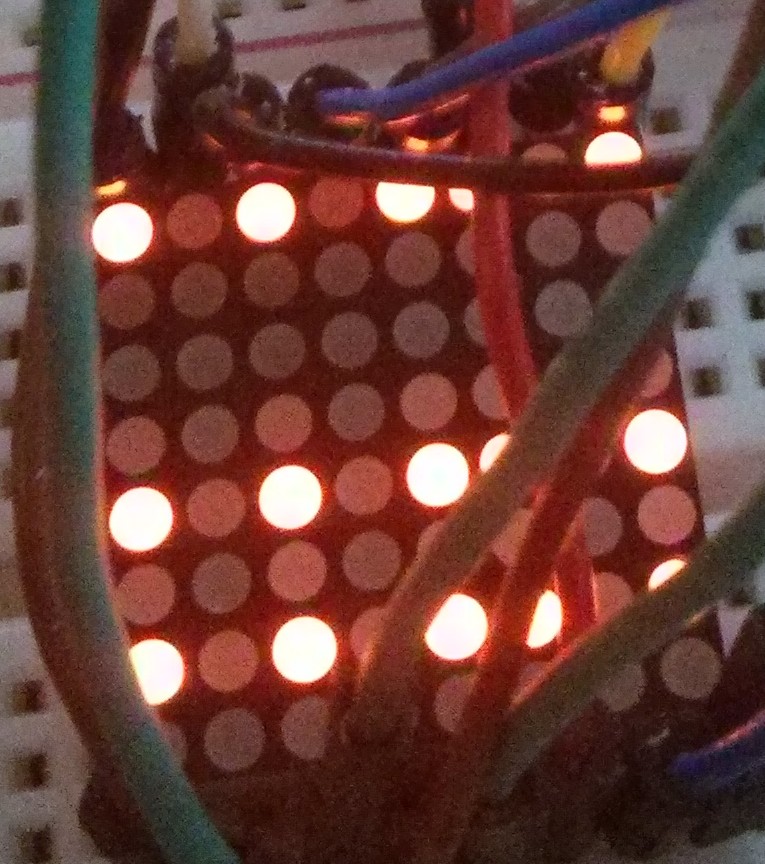
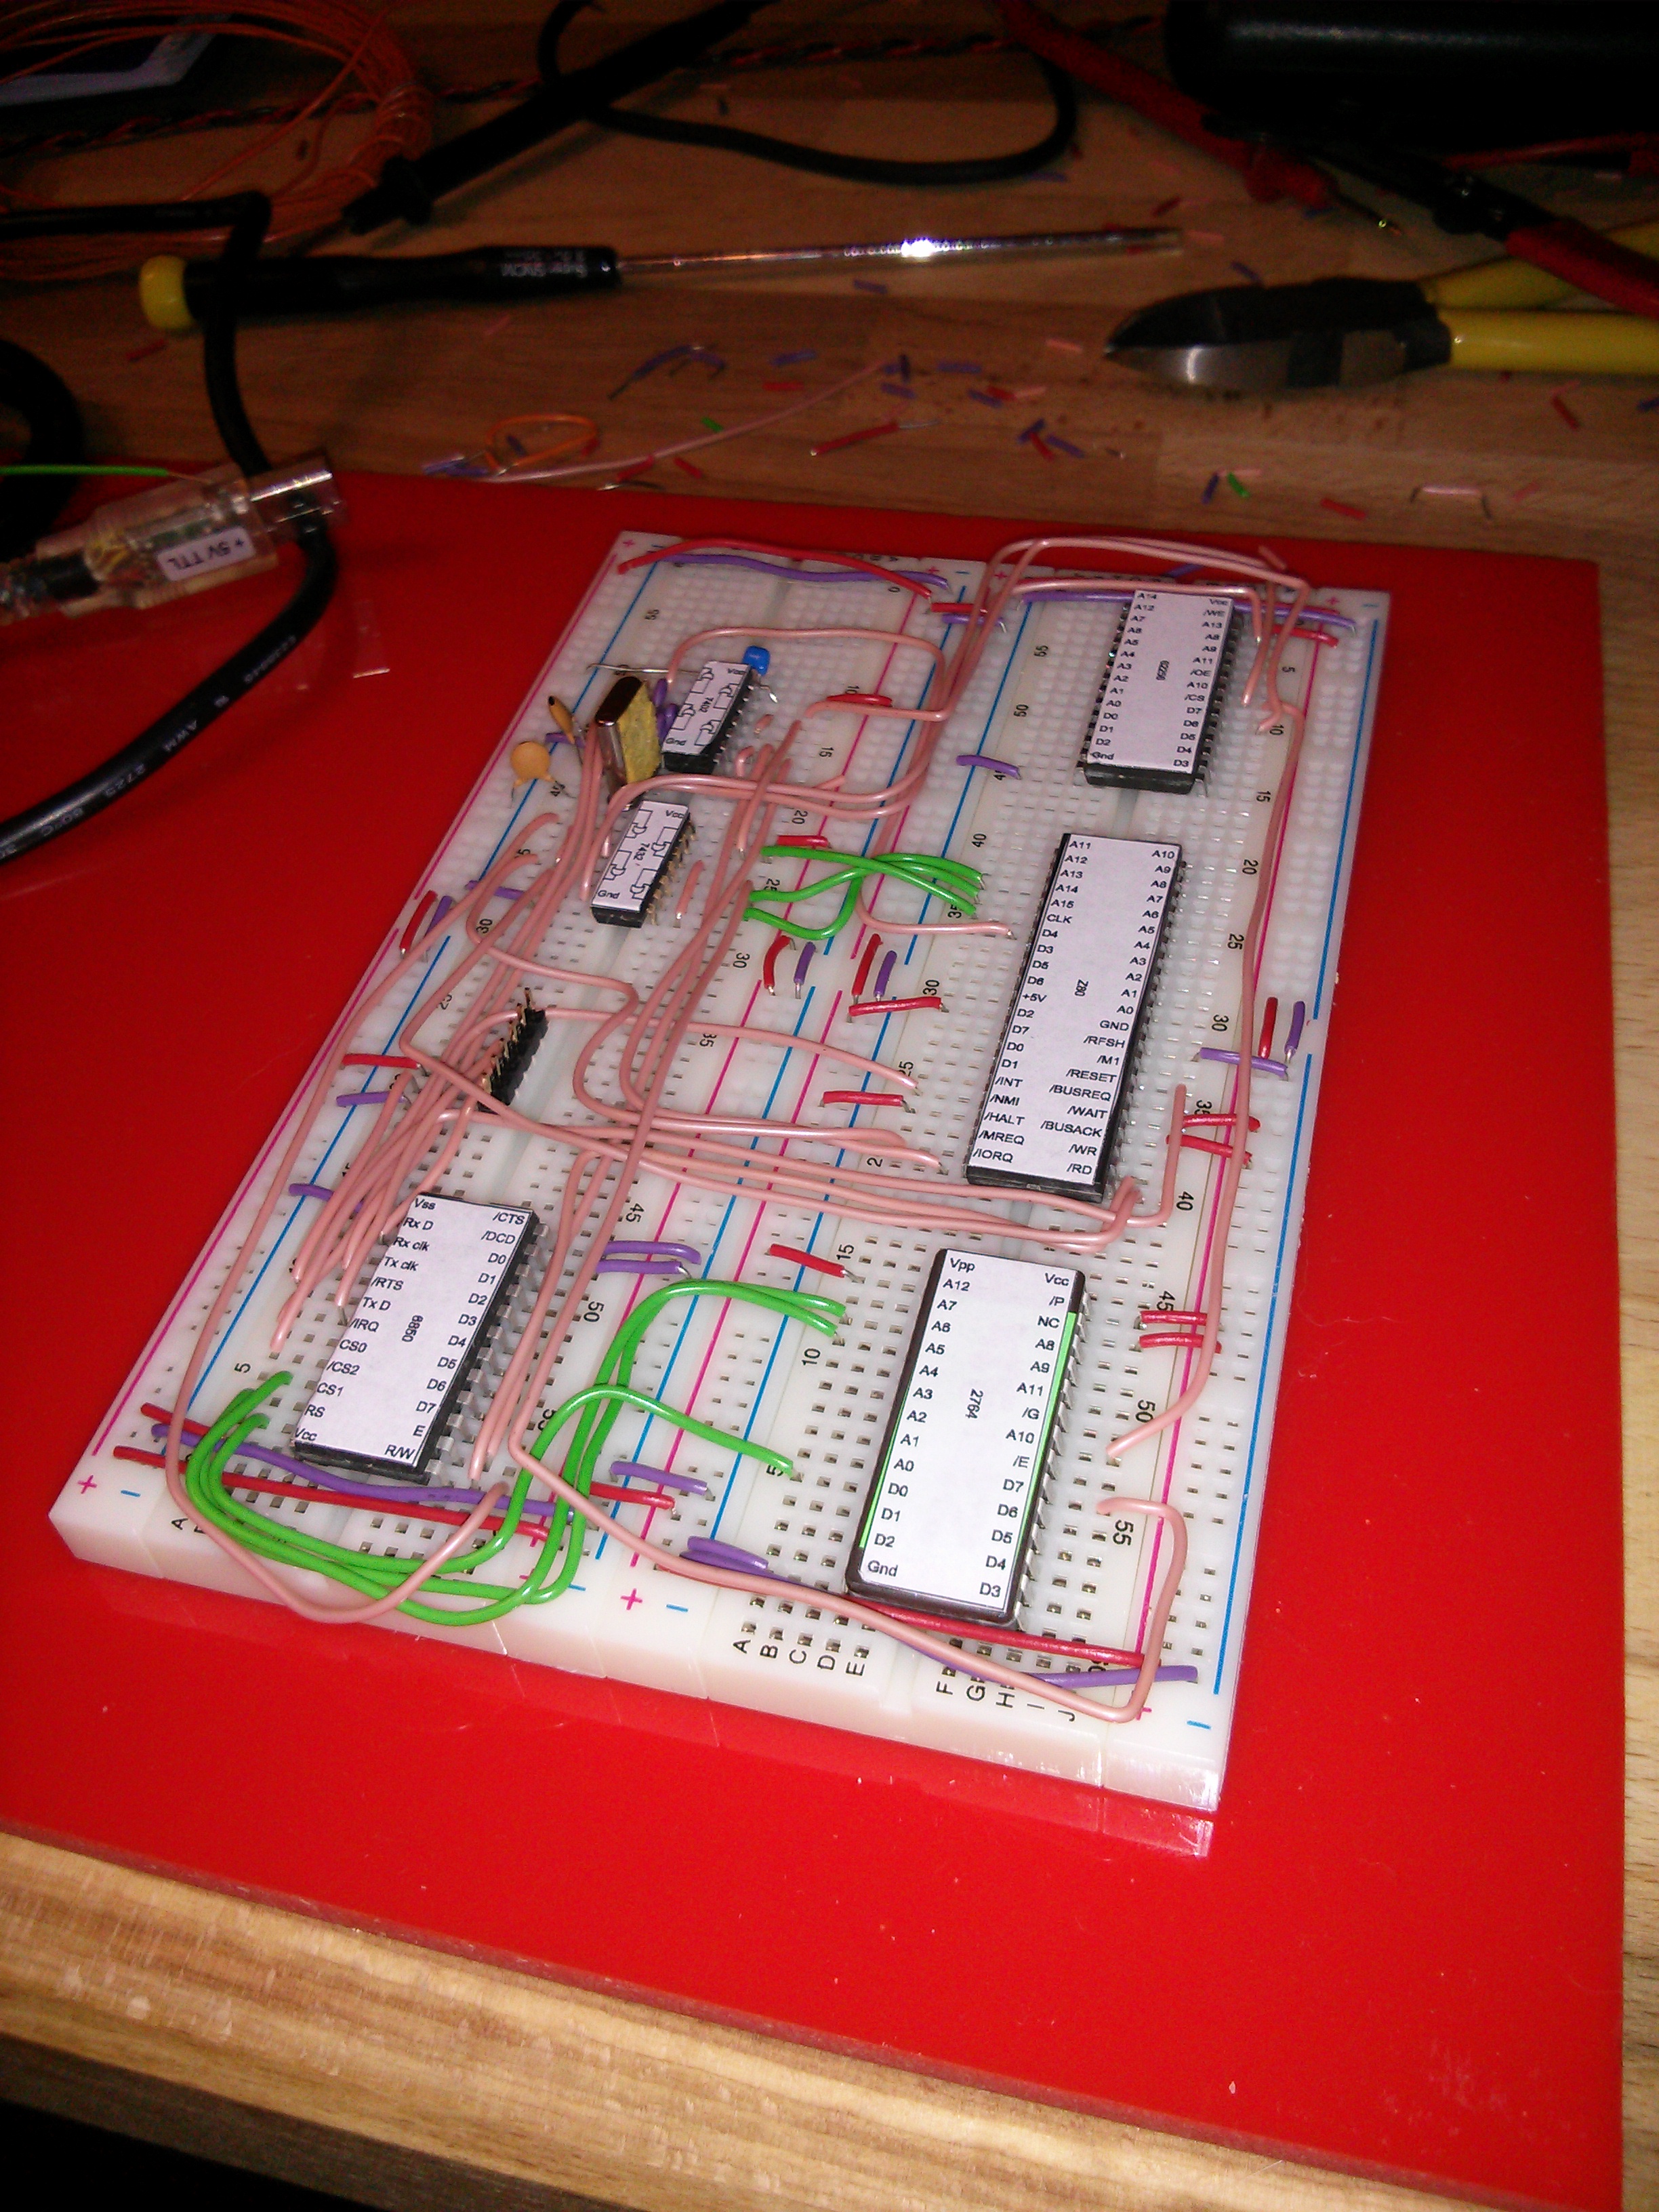
So, part of this challenge is to use LEDs, and the little 8×8 matrix modules I found seem ideal. I had initially intended to design a PCB to mount a bunch of these on, but due to time constraints, it was looking very unlikely I’d get them designed, ordered, manufactured and delivered by the end of the month, let alone time for testing. So I decided to go Old Skool, and do this part on a breadboard. Well, 2 breadboards, as they each need a driver chip. Although, it’s actually 3 breadboards, as 2 aren’t quite big enough. Not to mention the other breadboard with the supporting circuitry on. I made a start on this last night;