Sometimes an RC2014 has just one job. This one is to go Beep Whoop, Beep Beep Whoop, Beep Beep Beep Whoop! whenever a working Why Em-Ulator Sound Module PCB is put on the jig.
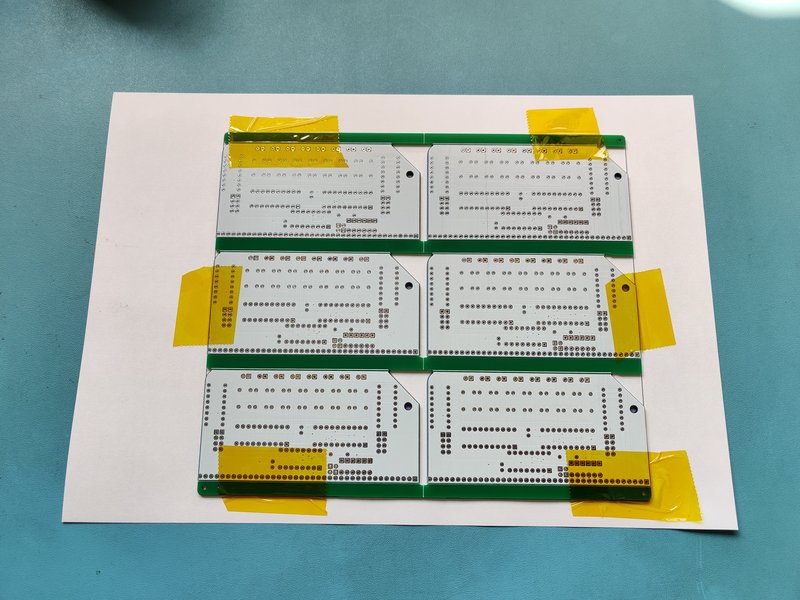
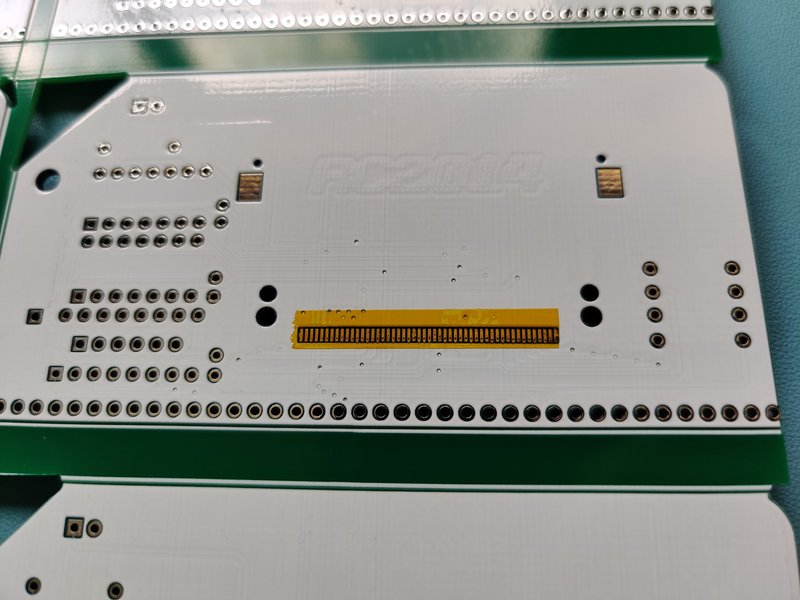
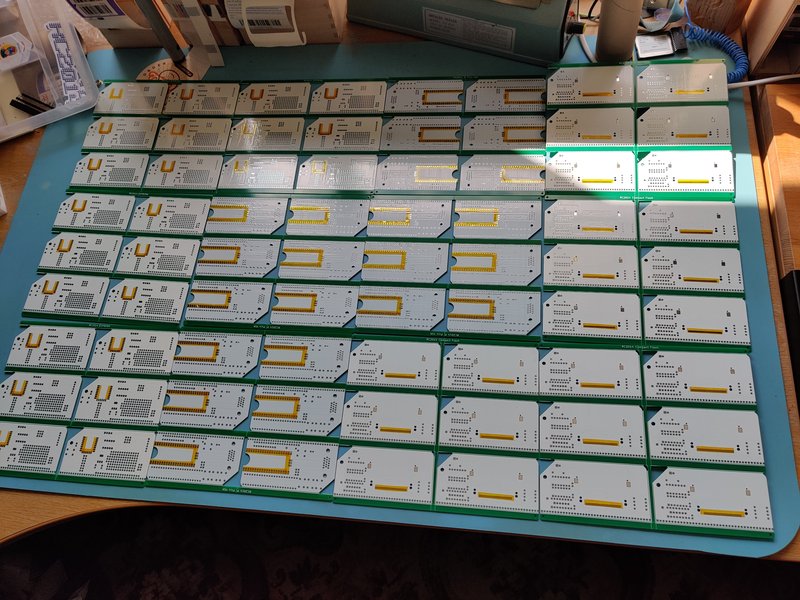
Before we get to that, though, lets go back to the start and consider the Why Em-Ulator Sound Module. This is supplied to RC2014 Towers with the surface mount components assembled and the PCBs panelised. The panelisation is needed so that they will go through the assembly process at the fab house. So the first thing to do is remove the rails and separate the pair of boards.

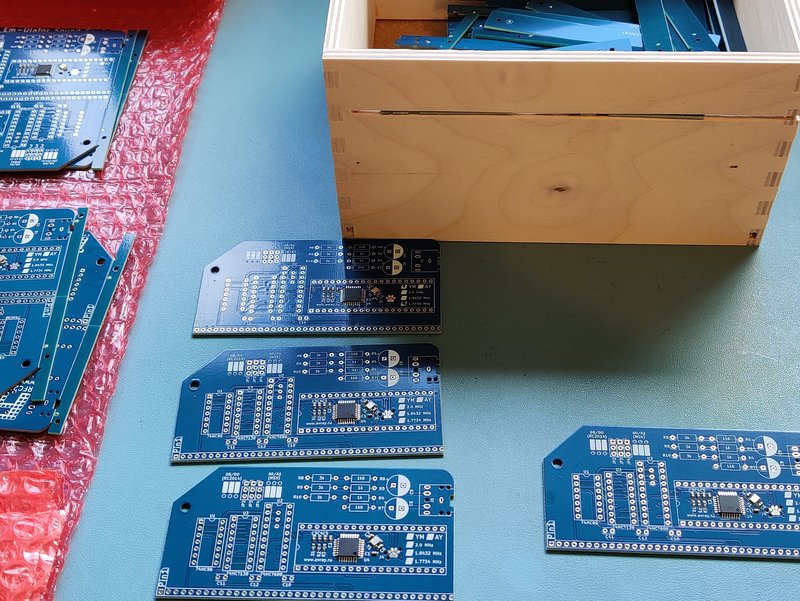
Removing the rails is made easy with a slot cut in to a wooden box. The rails are put in to the slot and a quick bend up and down detaches them from the main PCB. The discarded rails are then collected in the box. Breaking the two PCBs apart is also a simple process.
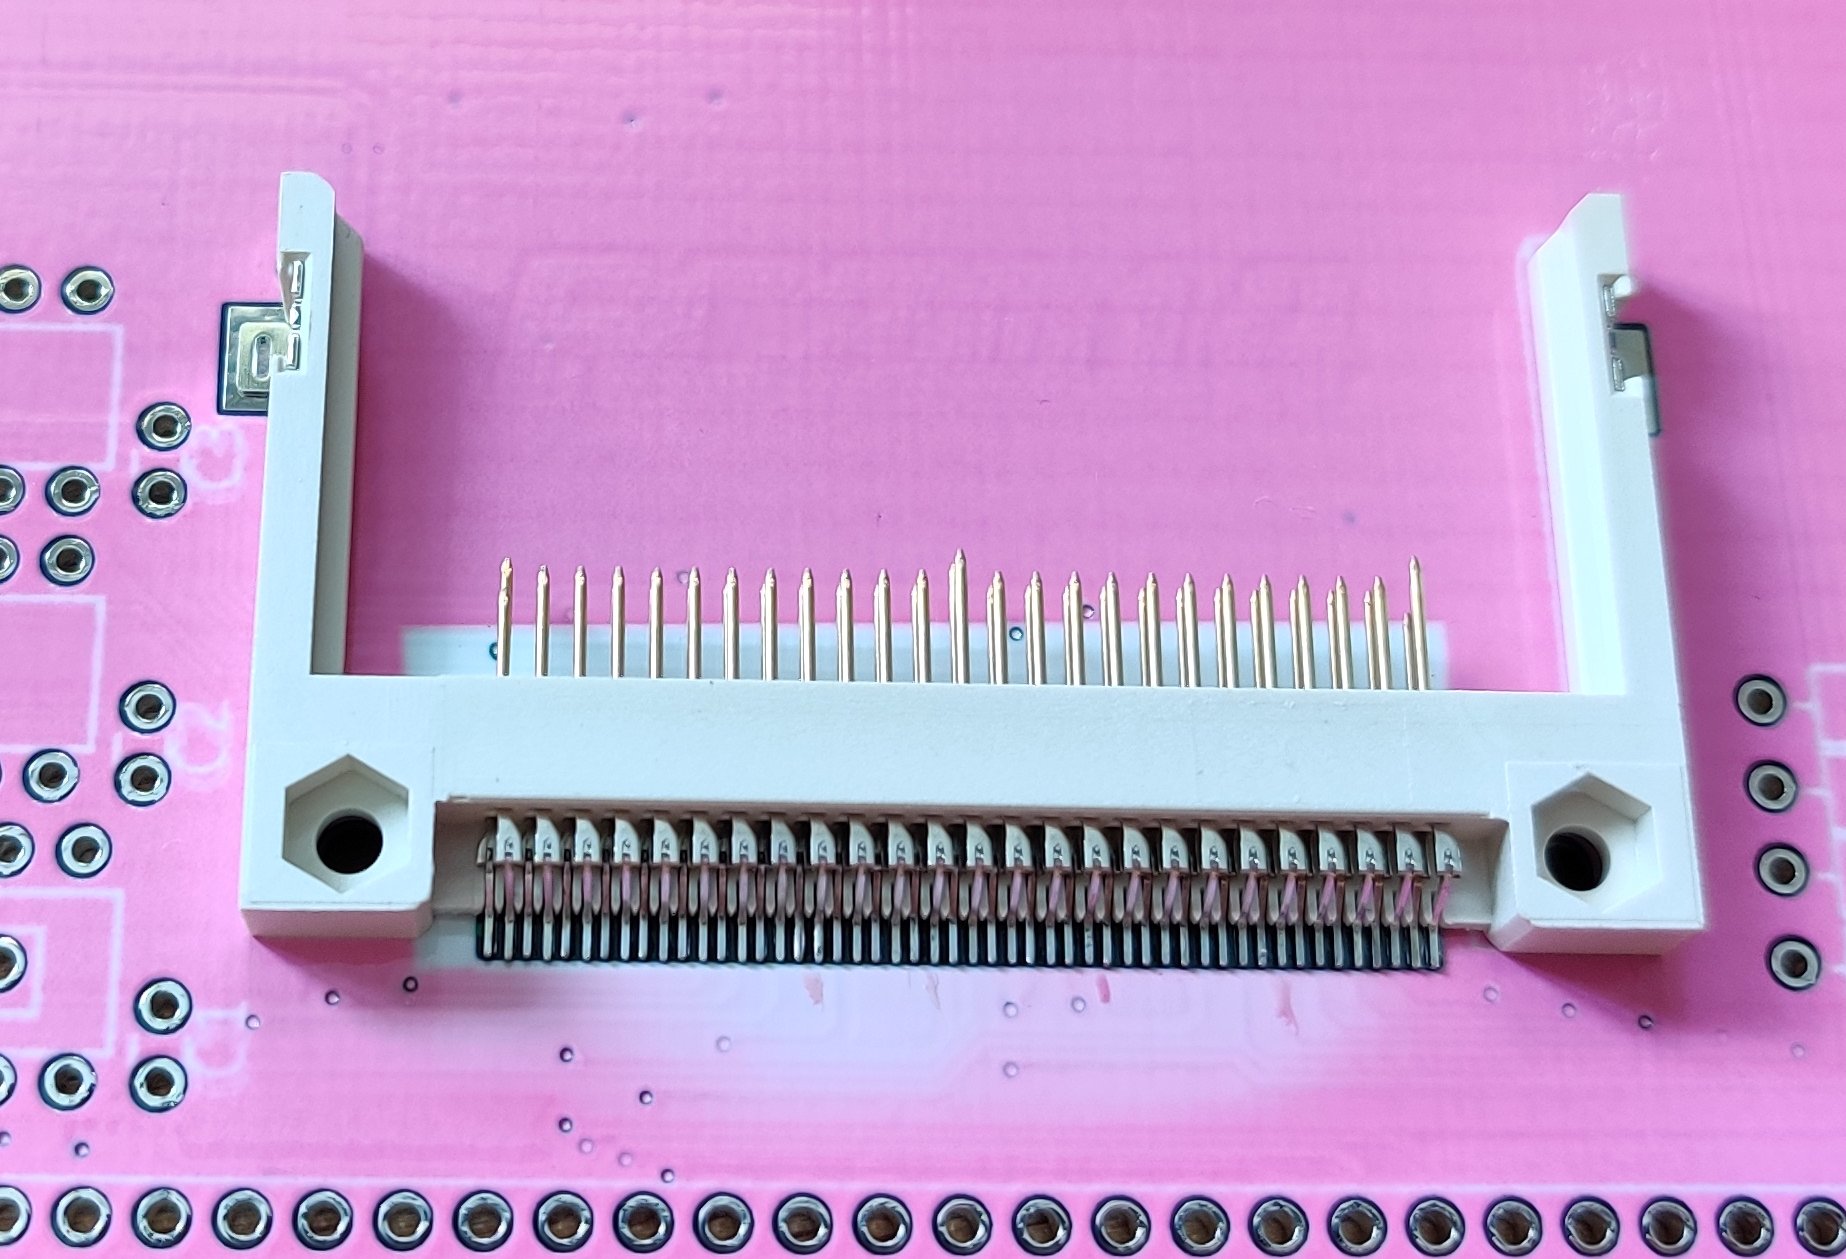
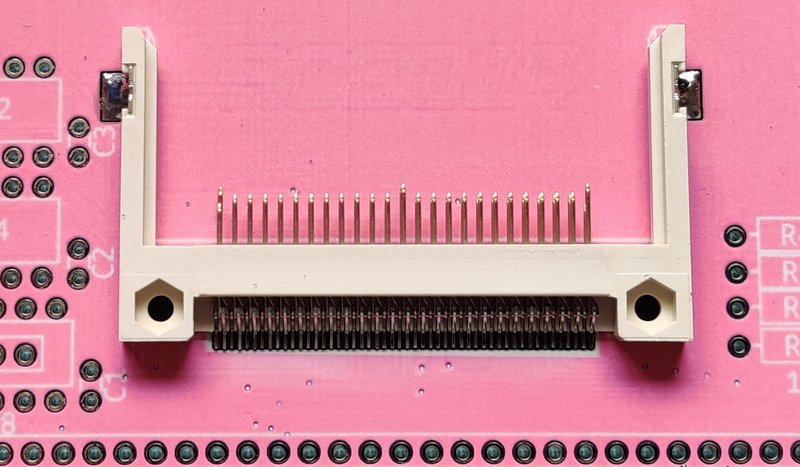
Next the micro controller needs to be programmed. The PCB has a TC2030 Tag Connect compatible programming header next to the micro controller. The programming cable has spring loaded pogo pins and some locating pins that protrude through the board. To accommodate this, a small jig (Jiglett) is used.
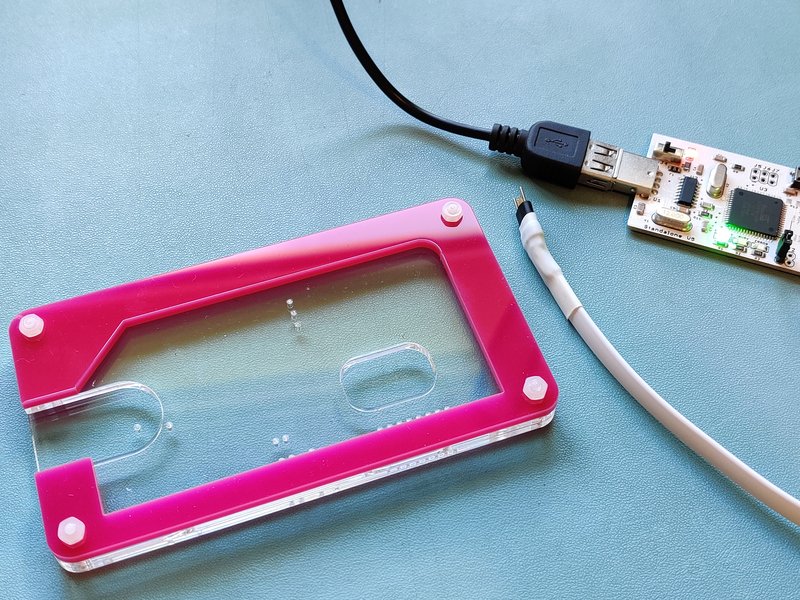
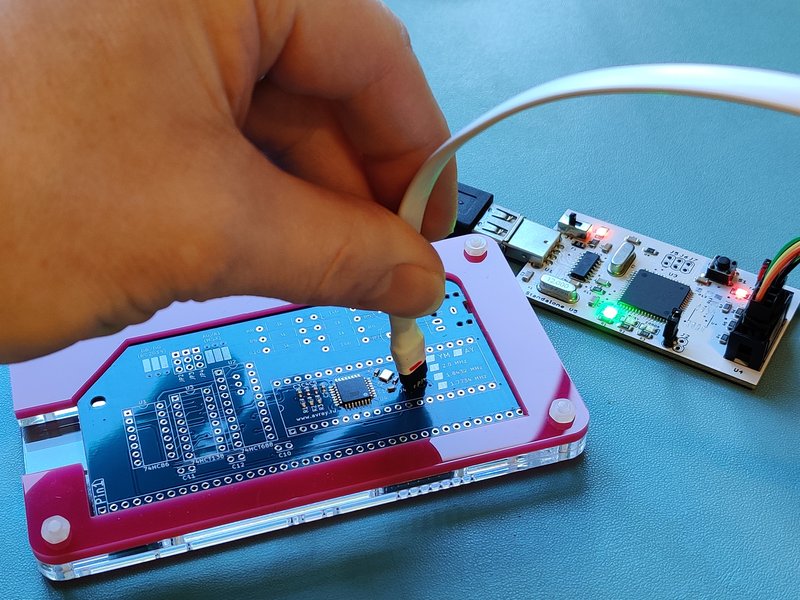
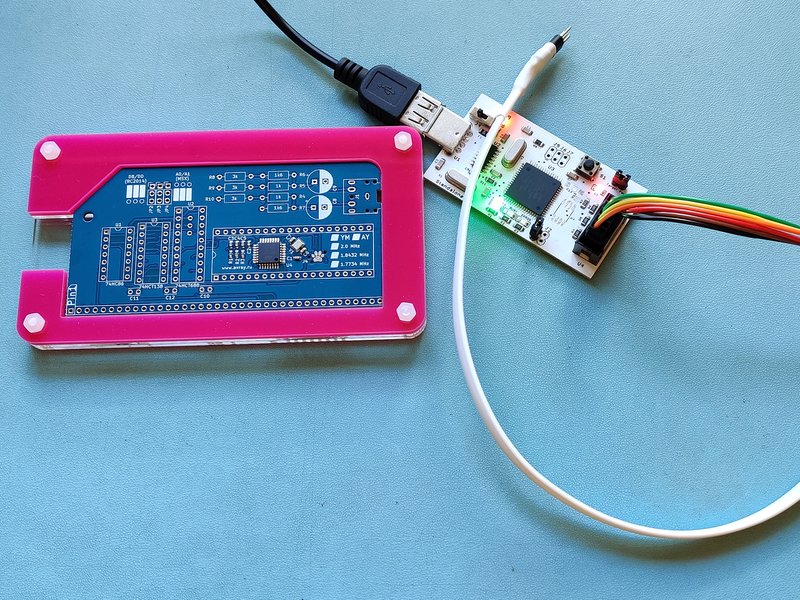
The programmer is a stand alone device which has the flash hex file, eprom hex file and fuse settings for the default Why Em-Ulator settings (YM2149 at 1.7734MHz). Other settings can be programmed manually from a laptop.
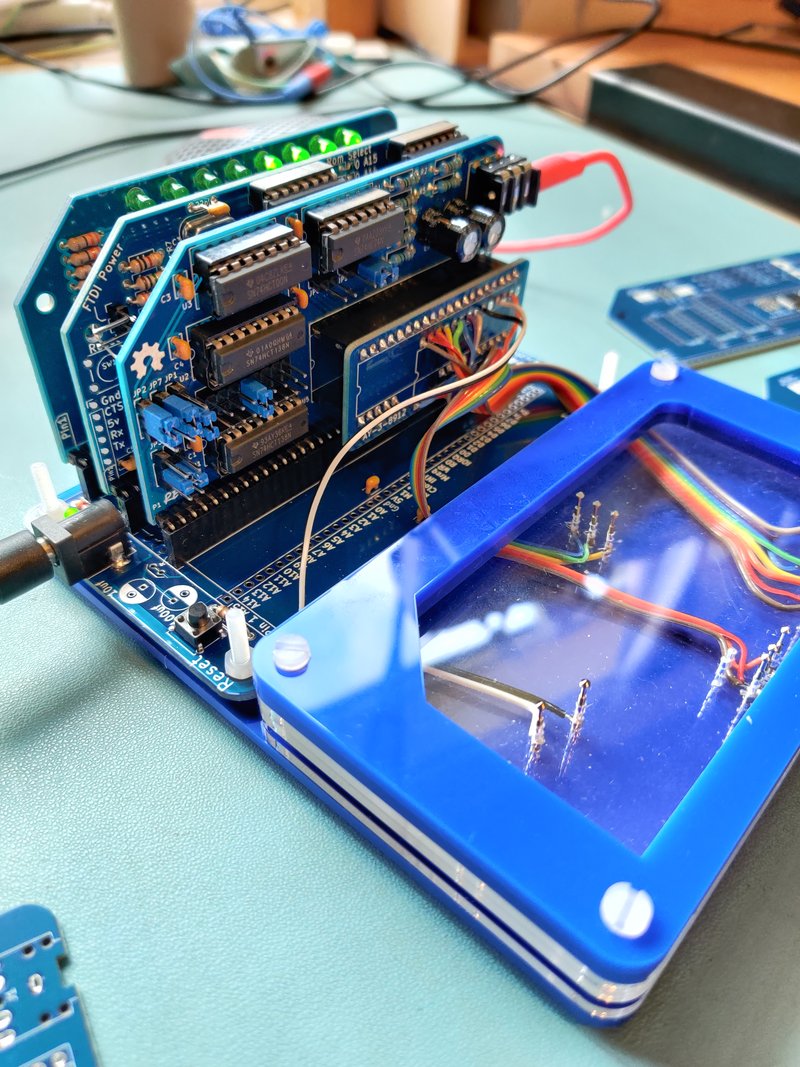
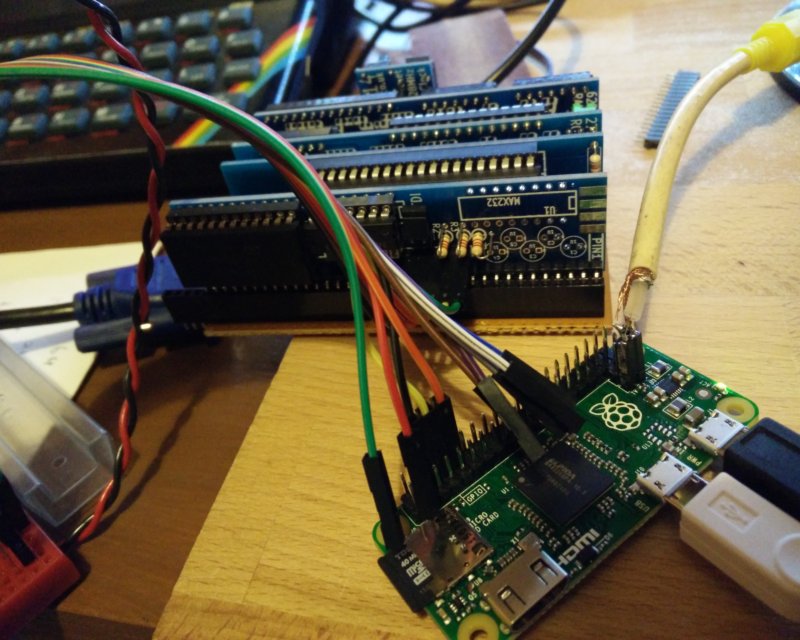
For peace of mind that the firmware has been programmed successfully, and that the assembly process was correct, it needs to be tested. This is where the Jig-Ulator comes in.

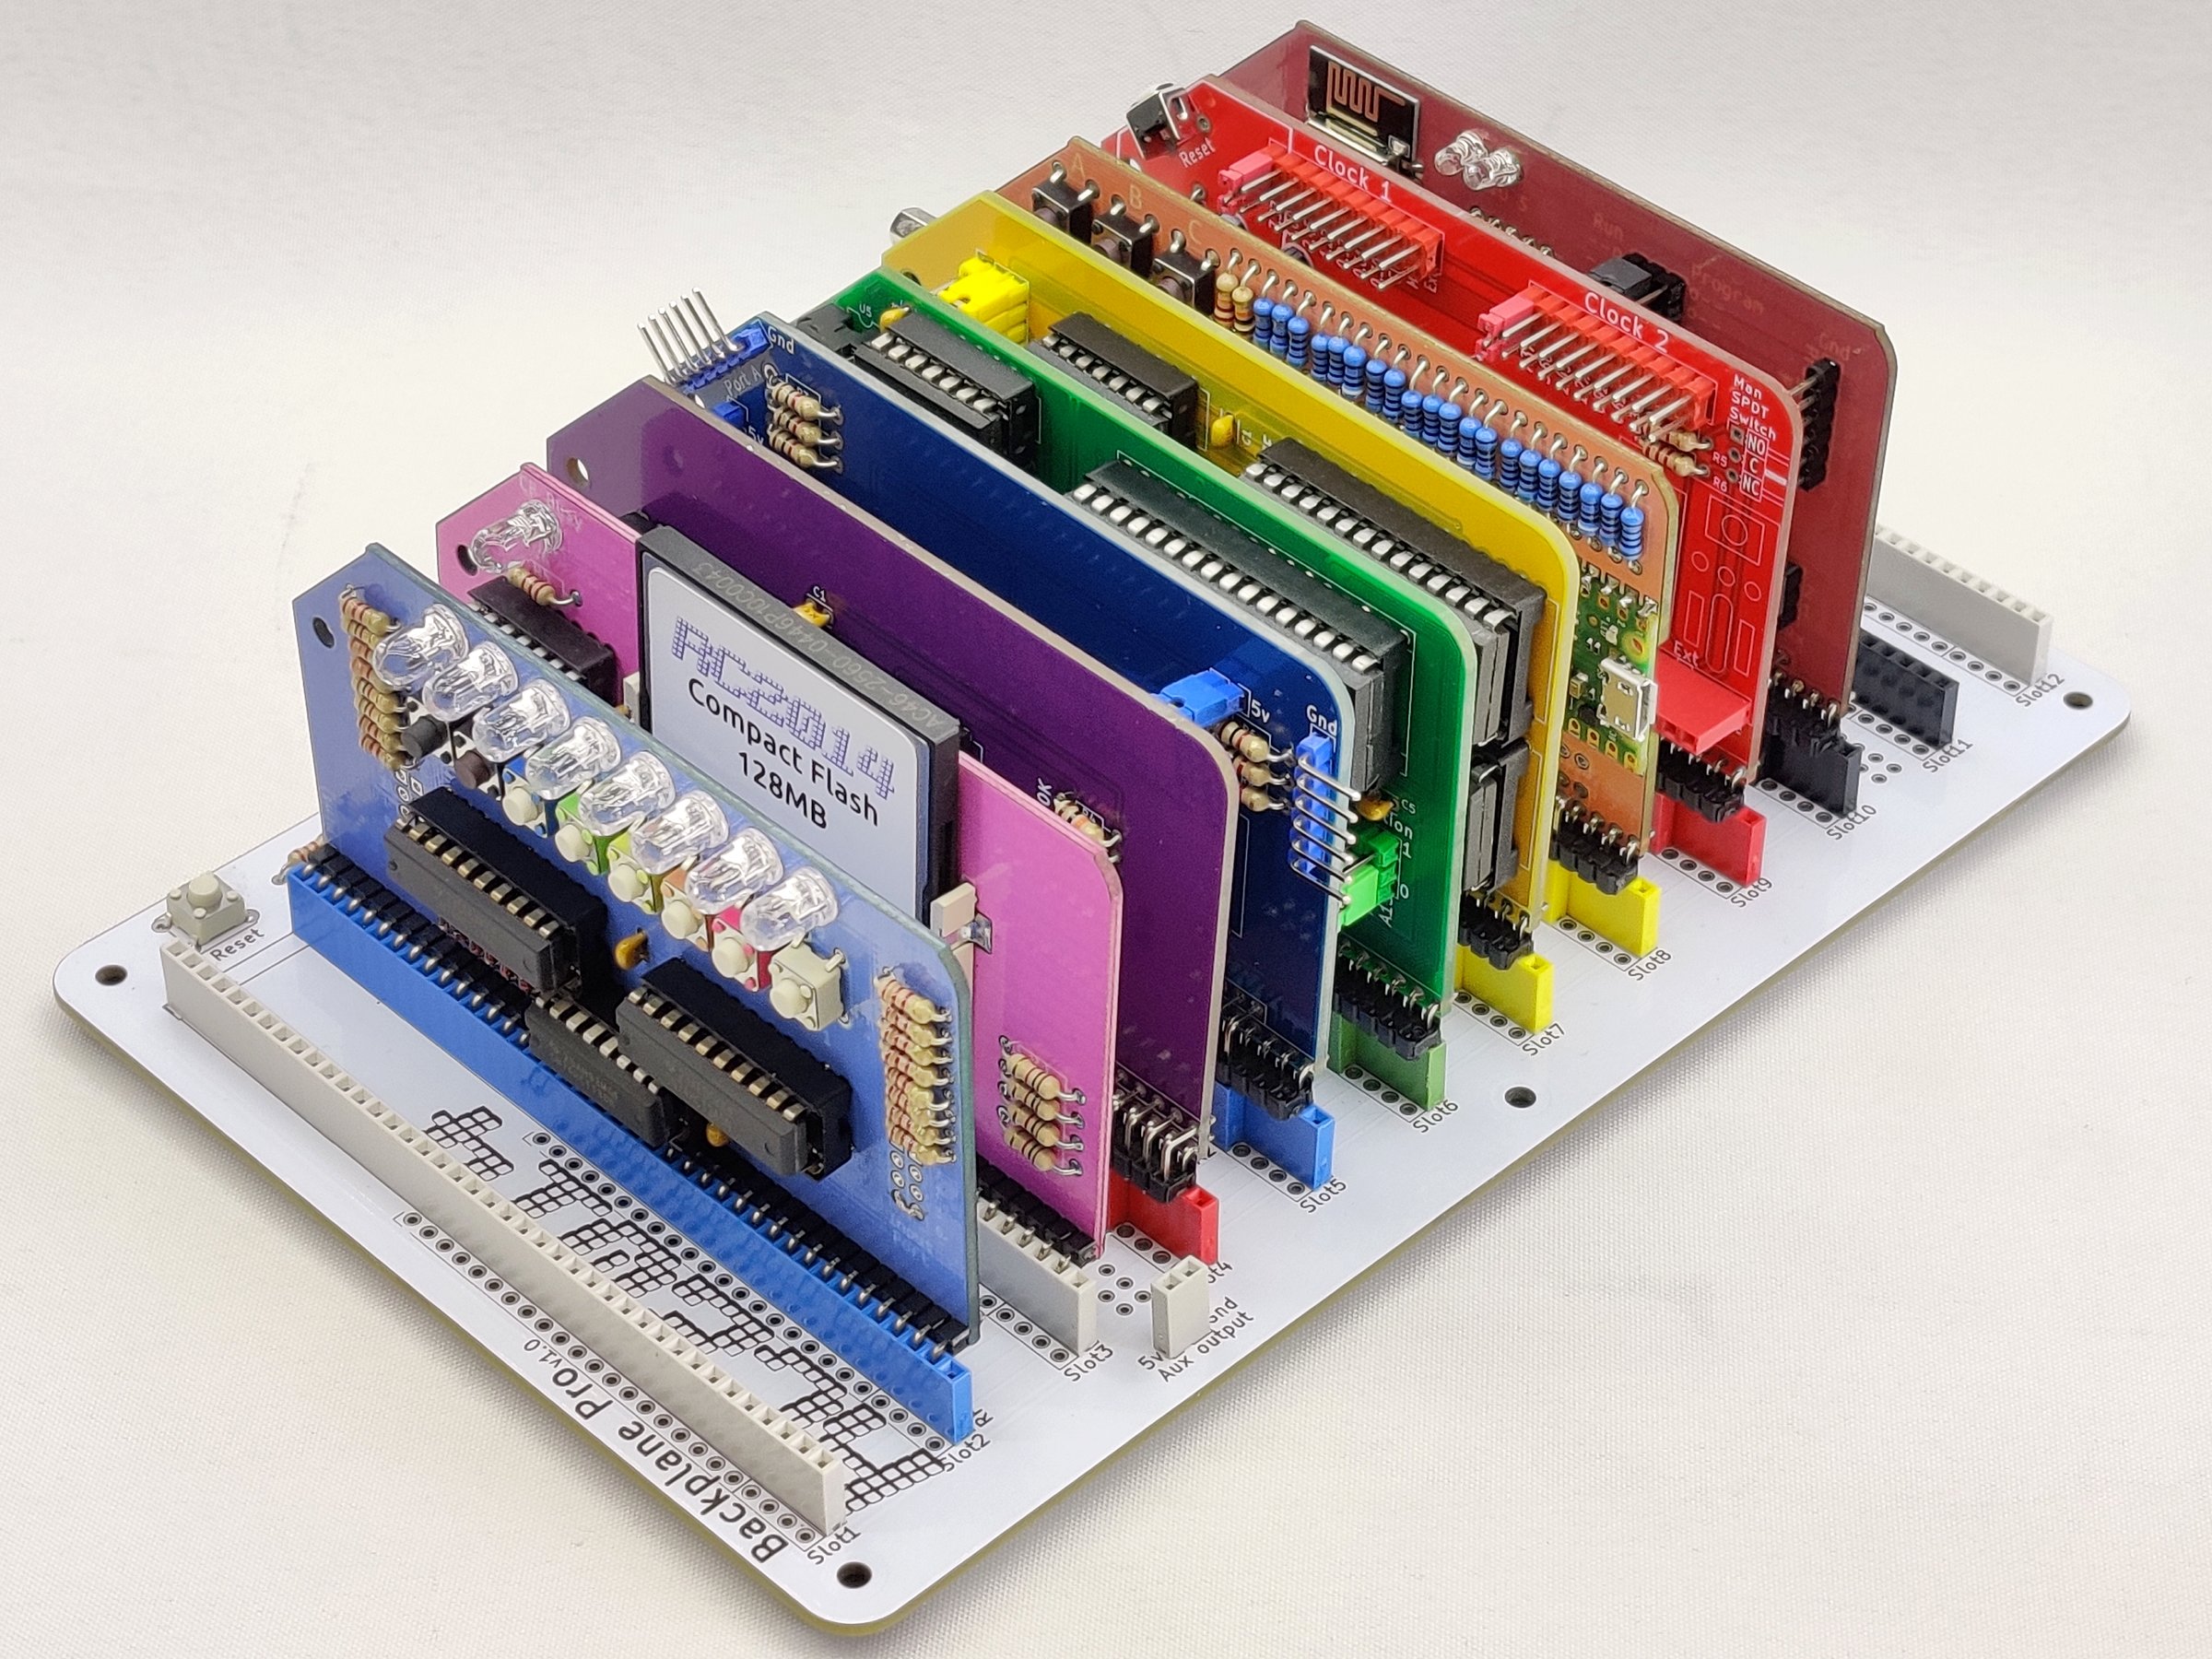
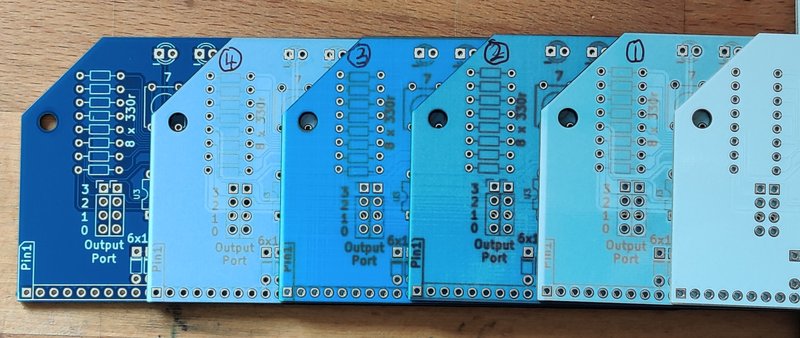
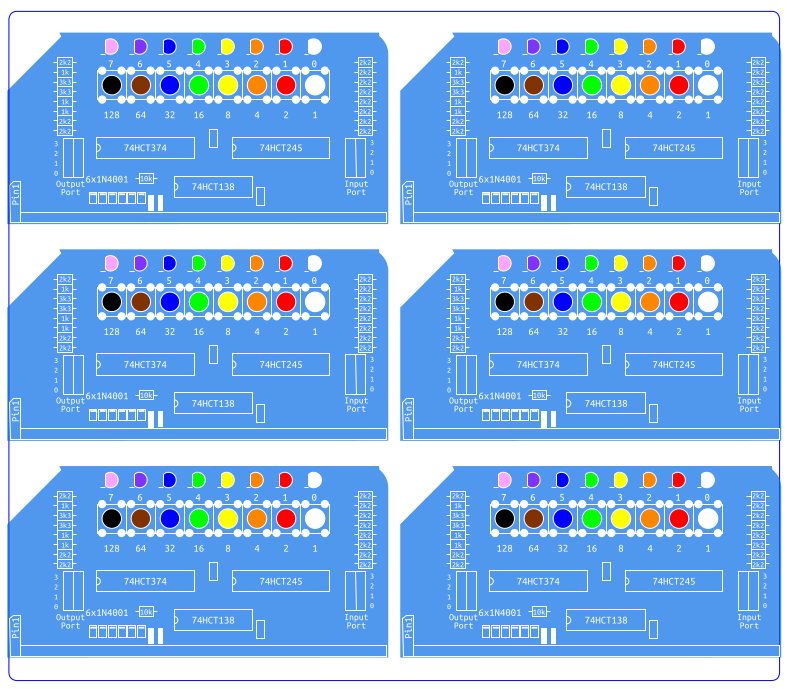
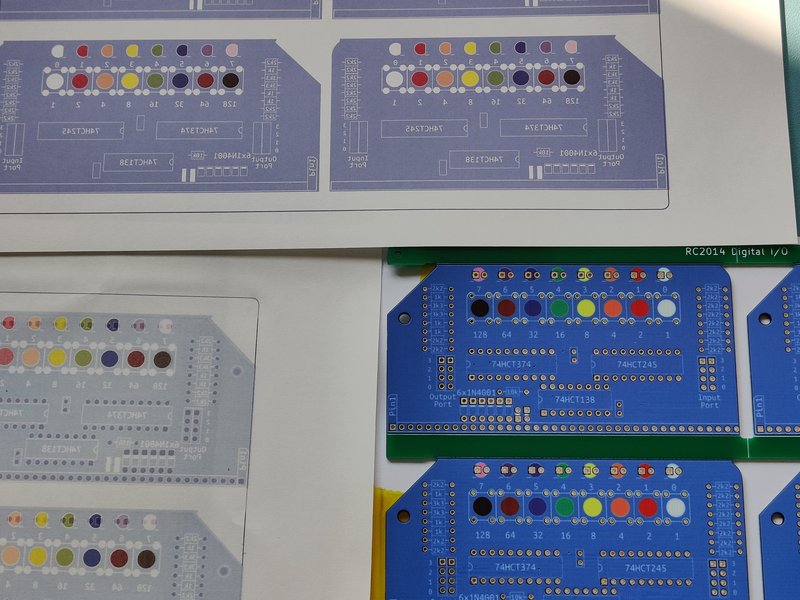
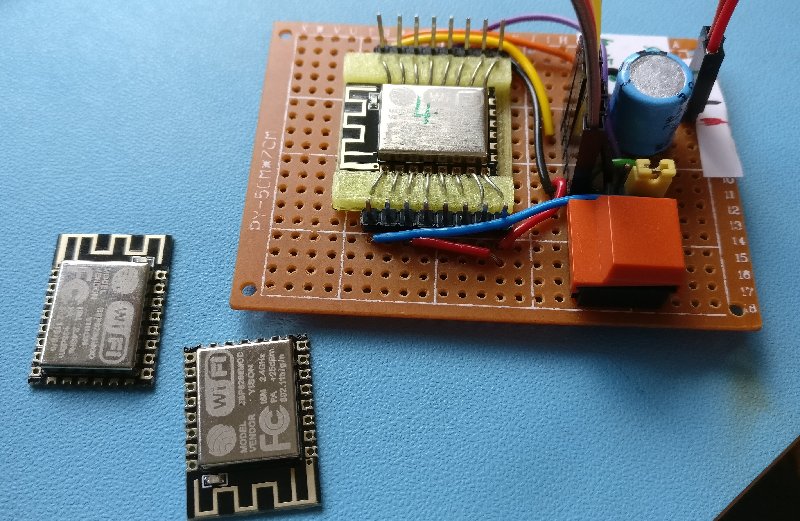
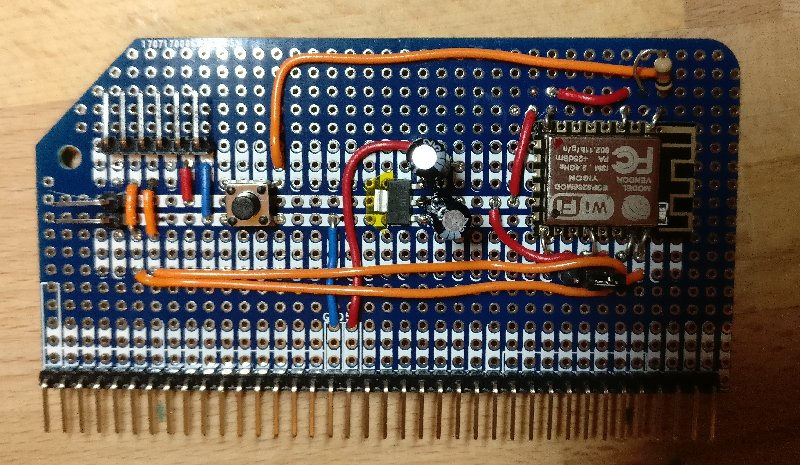
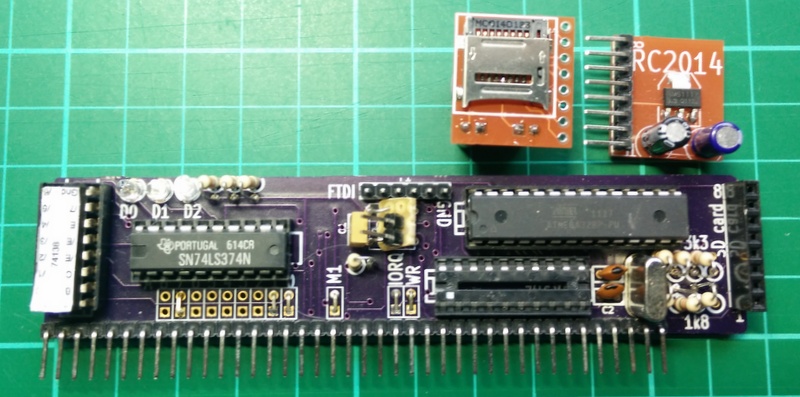
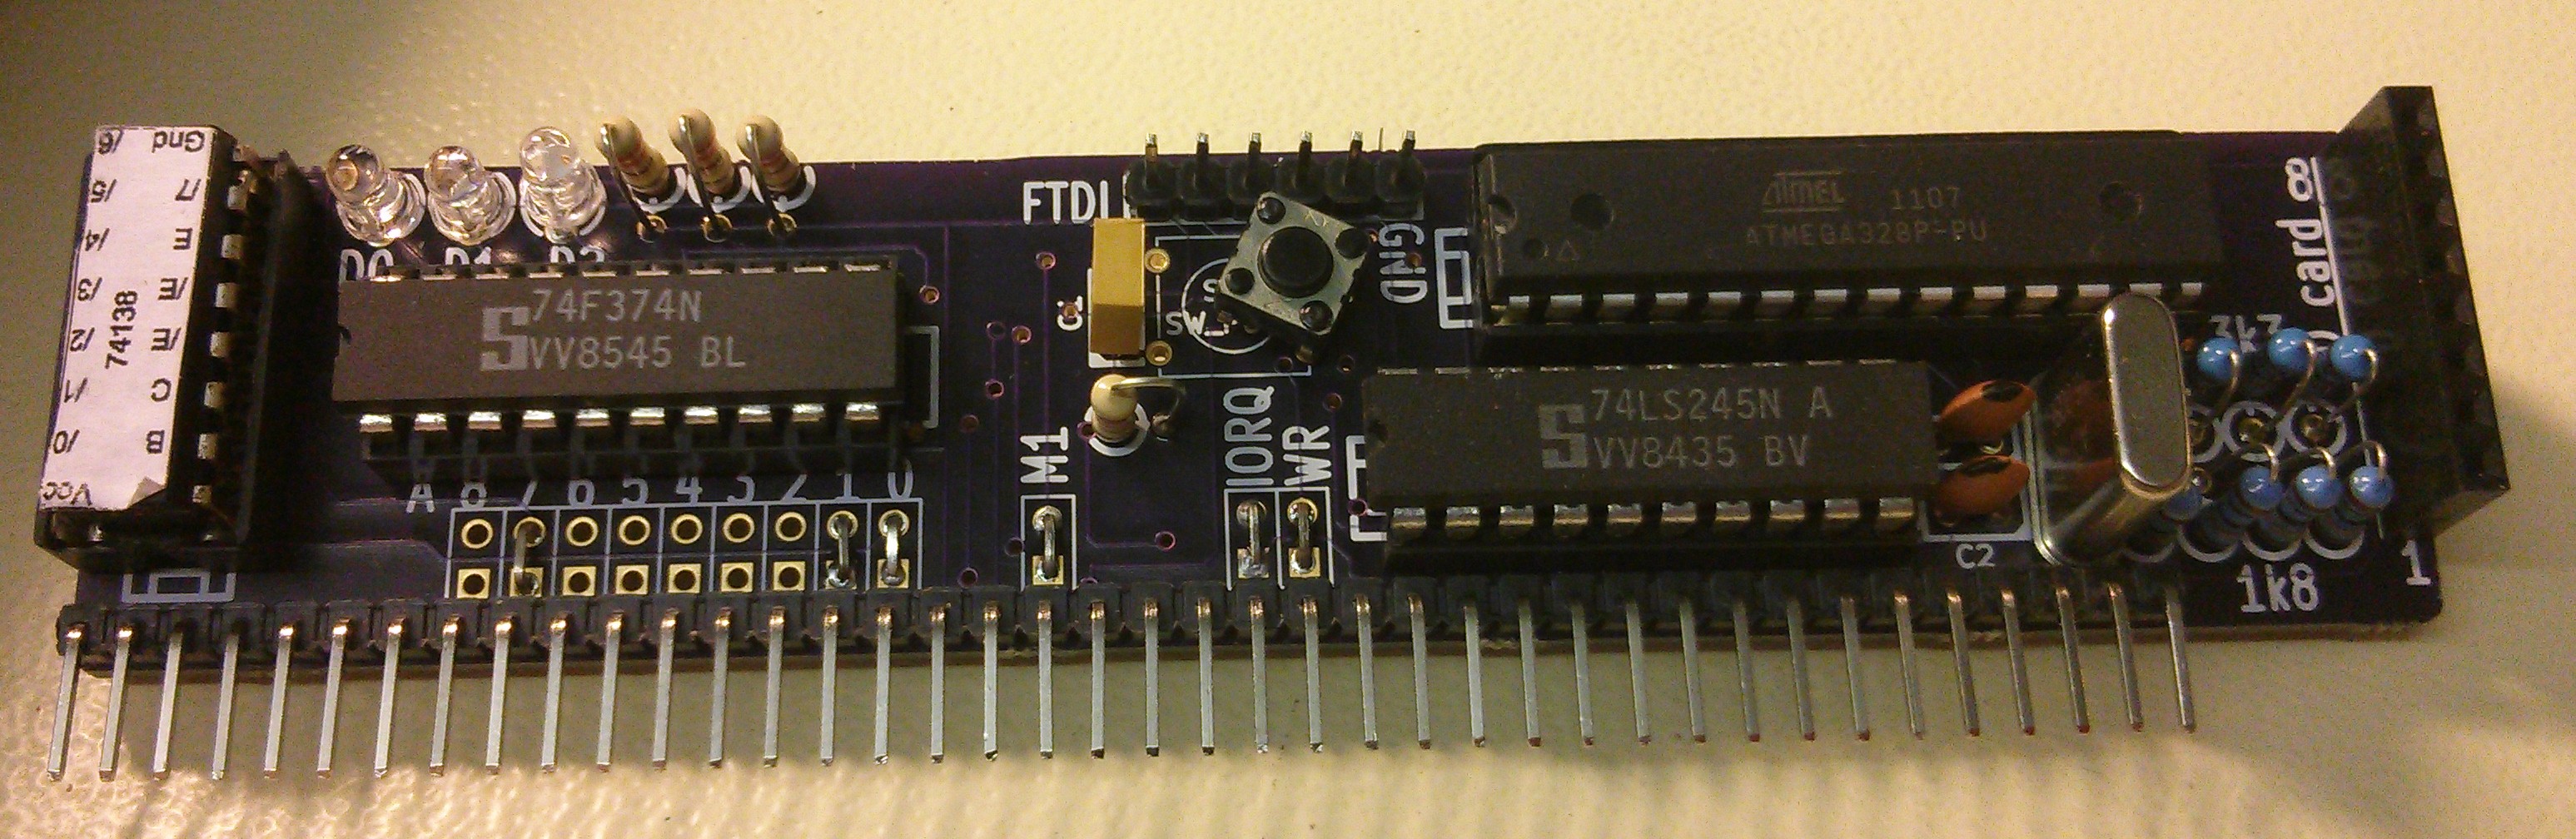
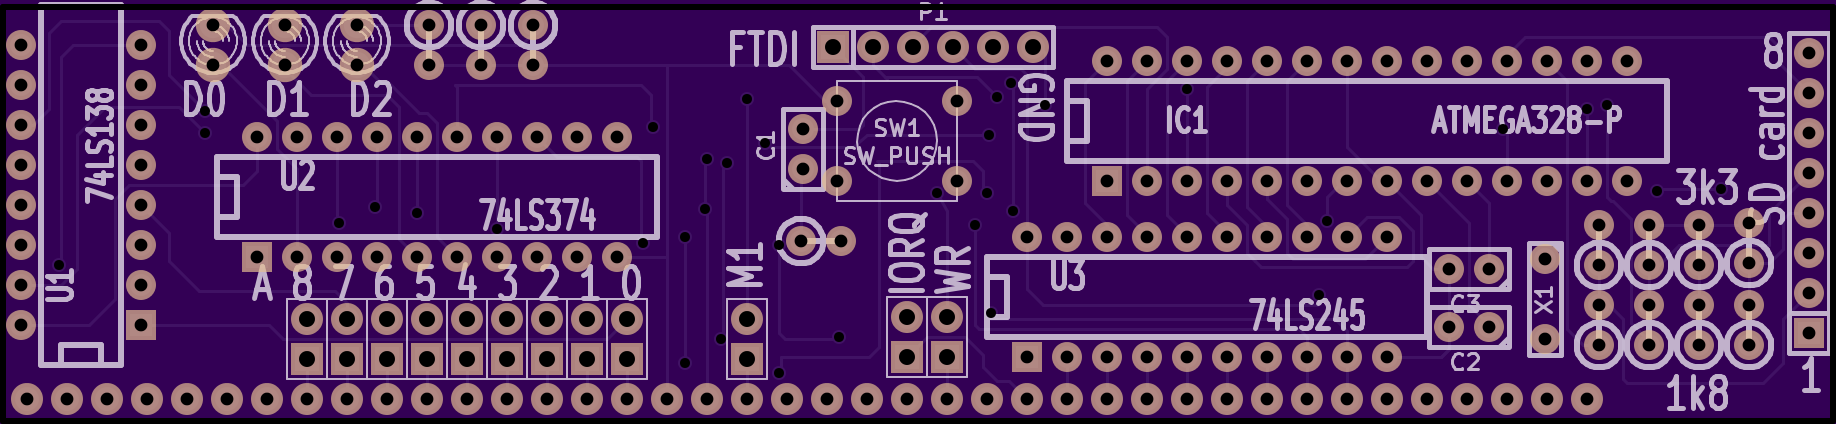
At the heart of the Jig-Ulator is an RC2014 Micro. This sits in a Backplane 5 with 3 sockets fitted. One of these sockets has a Digital I/O Module for visual feedback and the other has a Rev 5 YM2149 Sound Module with an AY-3-8910 to AY-3-8912 adapter. This adapter carries all the signals (Power, 8 data lines, Reset, BC1 and BDIR) that the Why Em-Ulator needs to operate, as well as the return path for the sound from Channel A, Channel B and Channel C. The sound module is plugged in to a speaker for audio feedback.

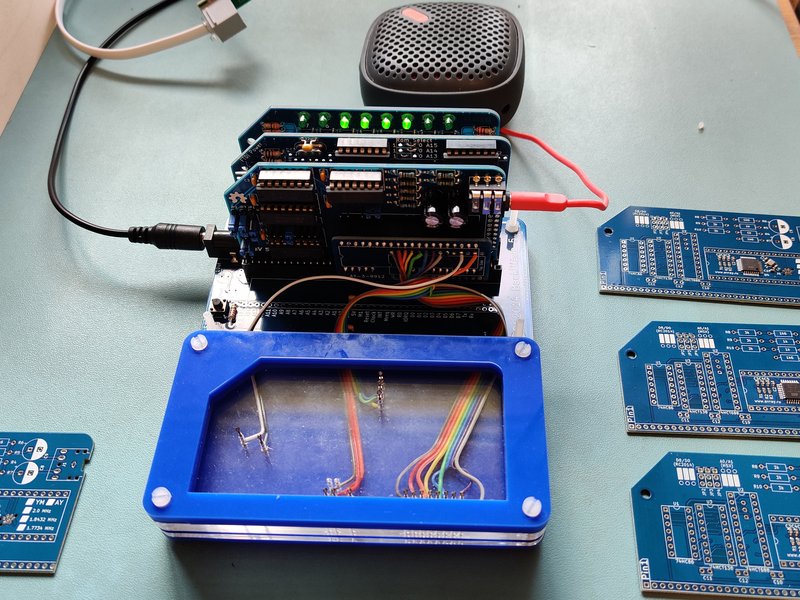
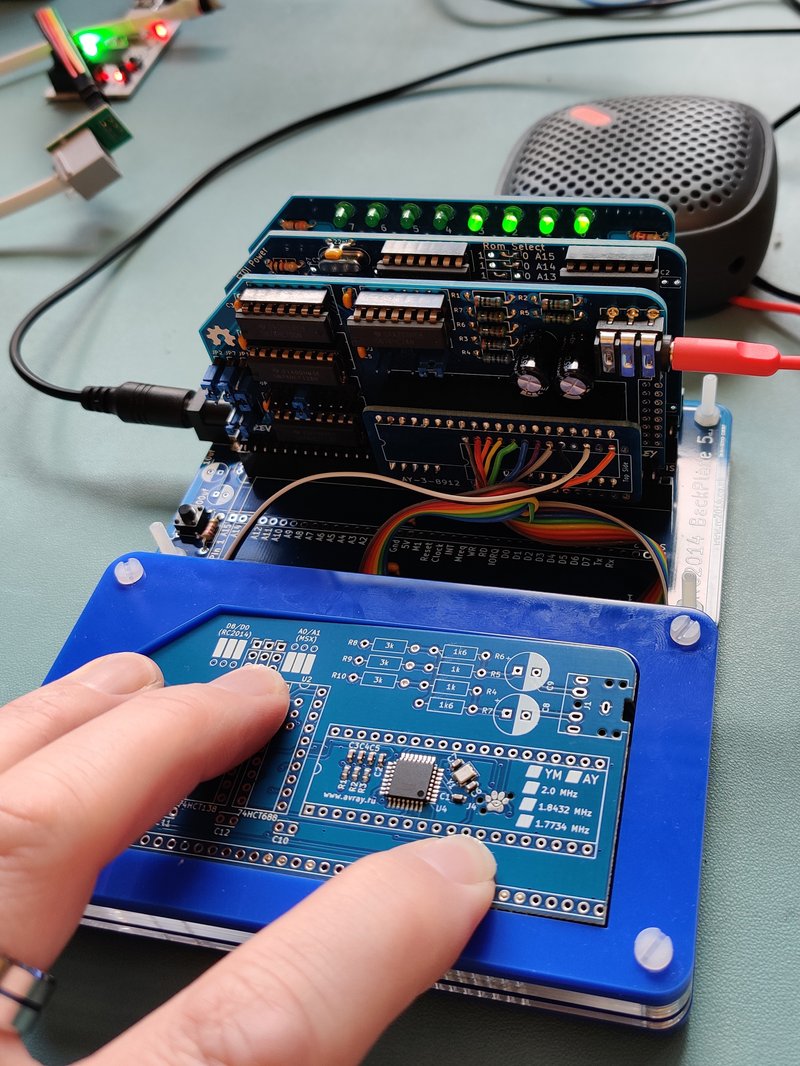
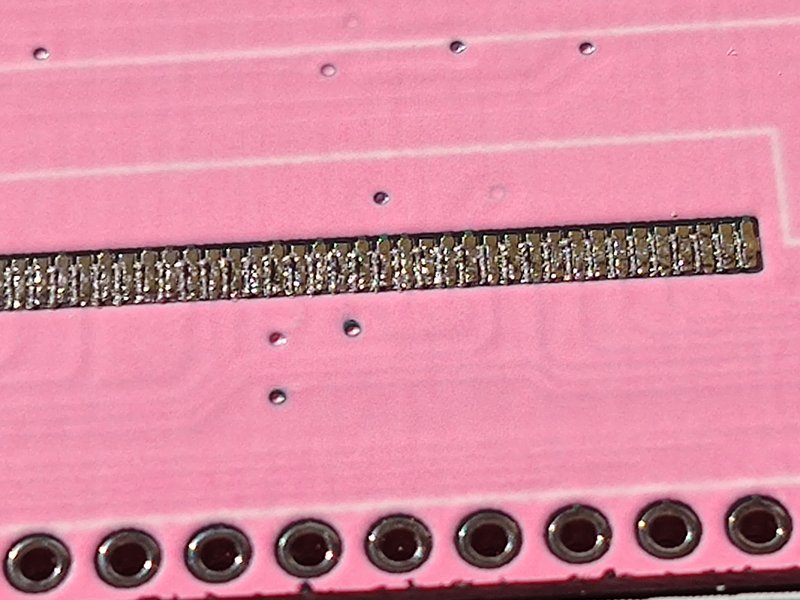
At the front of the Jig-Ulator is a bed of nails test jig made from laser cut Perspex and pogo pins. The Perspex holds the pogo pins in place, and the upper layers have an alignment cutout so that the module under test will line up perfectly with the pins. A little bit of pressure ensures that all signals make good contact.
The RC2014 Micro has some very simple test code in ROM that runs on startup and continues indefinitely. This code isn’t elegant. Nor is it particularly efficient. And it certainly isn’t an example of how to write good Z80 assembly code. However, it has one job, test the module, and it does that well.
All of this only takes up a couple hundred bytes of the 8k ROM. It can surely be optimised to take up less space. Alternatively, the calls can be unrolled to take up more space but without needing any RAM for the stack.
            .ORG    $0000
REG         EQU     $D8
DAT         EQU     $D0
START:
            NOP
            NOP
            DI       ; disable interrupts
            LD      hl,$9000
            LD      sp,hl ; set up stack
            NOP
;set mixer reg to enable channel A
            LD      a,7
            OUT     REG,a
            LD      a,62
            OUT     DAT,a
            LD      a,15
            OUT     0,a ; set DIO lights right

;set channel A to max volume
            LD      a,8
            OUT     REG,a
            LD      a,15
            OUT     DAT,a

;output 2 note to channel A
            LD      a,0
            OUT     REG,a
            LD      a,128 ;low note
            OUT     DAT,a
            CALL    delay
            LD      a,255 ;high note
            OUT     DAT,a
            CALL    delay

;decremental tone
            LD      a,0
            OUT     REG,a
            LD      b,255
            CALL    ALOOP

;set mixer reg to enable channel B
            LD      a,7
            OUT     REG,a
            LD      a,61
            OUT     DAT,a
            LD      a,$F0
            OUT     0,a ; set DIO lights left

;set channel B to max volume
            LD      a,9
            OUT     REG,a
            LD      a,15
            OUT     DAT,a

;output 4 note to channel B
            LD      a,2
            OUT     REG,a
            LD      a,255 ;low note
            OUT     DAT,a
            CALL    delay
            LD      a,128 ;high note
            OUT     DAT,a
            CALL    delay
            LD      a,255 ;low note
            OUT     DAT,a
            CALL    delay
            LD      a,128 ;high note
            OUT     DAT,a
;decremental tone
            LD      a,2
            OUT     REG,a
            LD      b,255
            CALL    ALOOP

;set mixer reg to enable channel C
            LD      a,7
            OUT     REG,a
            LD      a,59
            OUT     DAT,a
            LD      a,60
            OUT     0,a ; set DIO lights middle

;set channel C to max volume
            LD      a,10
            OUT     REG,a
            LD      a,15
            OUT     DAT,a

;output 6 note to channel C
            LD      a,4
            OUT     REG,a
            LD      a,128 ;low note
            OUT     DAT,a
            CALL    delay
            LD      a,255 ;high note
            OUT     DAT,a
            CALL    delay
            LD      a,128 ;low note
            OUT     DAT,a
            CALL    delay
            LD      a,255 ;high note
            OUT     DAT,a
            CALL    delay
            LD      a,128 ;low note
            OUT     DAT,a
            CALL    delay
            LD      a,255 ;high note
            OUT     DAT,a
;decremental tone
            LD      a,4
            OUT     REG,a
            LD      b,255
            CALL    ALOOP


;turn sound off
            LD      a,7
            OUT     REG,a
            LD      a,63
            OUT     DAT,a
            LD      a,0
            OUT     0,a
            CALL    DELAY ; wait....
            CALL    DELAY
            CALL    DELAY
            CALL    DELAY
            CALL    DELAY
            CALL    DELAY
            CALL    DELAY
            CALL    DELAY
            CALL    DELAY
            CALL    DELAY
            CALL    DELAY
            CALL    DELAY
            JP      START ; and start all over again


            EI       ; enable interrupts
            RET      ; which will never get to. But helpful for debugging RAM based versions of the code
SHORTDELAY:
            PUSH    hl
            PUSH    af
            LD      hl,1000
            JP      DELLOOP

DELAY:
            PUSH    hl
            PUSH    af
            LD      hl,$ffff
DELLOOP:
            DEC     l
            JP      nz,DELLOOP
            DEC     h
            JP      nz,DELLOOP
            POP     af
            POP     hl
            RET

ALOOP:
            LD      a,b
            OUT     DAT,a
            CALL    SHORTDELAY
            DEC     b
            JP      nz,ALOOP
            RET
After starting up, interrupts are disabled and a stack area is defined. Then it makes a Beep-Boob on channel A, whilst turning on the right 4 LEDs on the DIO module, then plays a Whoop noise. It then does this again on Channel B, but with a Beep-Boop-Beep-Boop and illuminating the left 4 LEDs. And finally, it does this again on Channel C, but with a Beep-Boop-Beep-Boop-Beep-Boop and the middle 4 LEDs. Slight pause and back to the start.
The whole thing only takes a few seconds to confirm that everything is working as it should.


